How To Clean A Meat Slicer
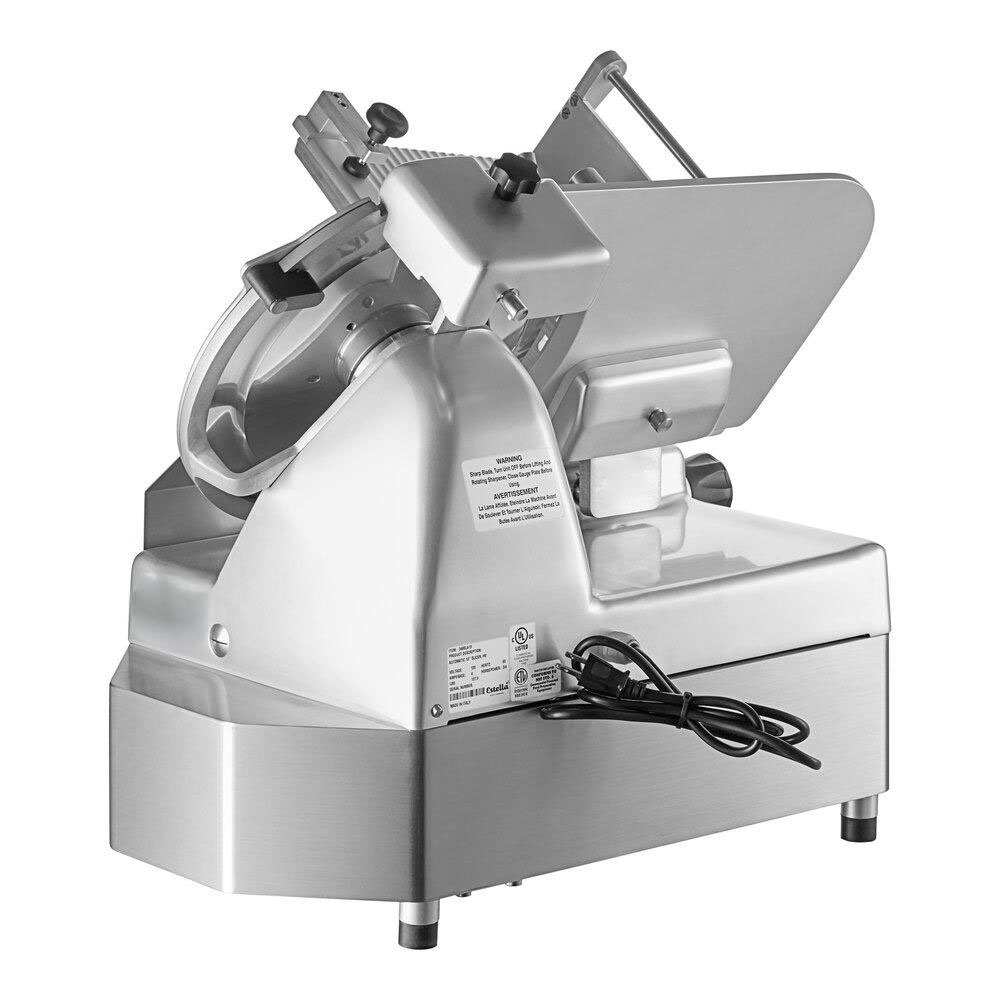
Maintaining your meat slicer is essential for ensuring its longevity, safety, and optimal performance. Whether you're operating a commercial kitchen, butcher shop, or just using it at home, keeping your meat slicer clean is crucial. In this blog, we will walk you through the best practices for cleaning a meat slicer, using the right tools and techniques to maintain its performance. Along the way, we'll touch on essential keywords and latent semantic indexing (LSI) terms, ensuring this guide is optimized for both your understanding and search engine algorithms.
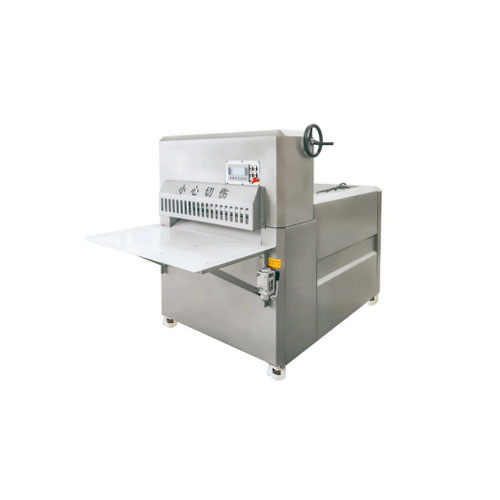
1. Why Is Cleaning a Meat Slicer Important?
Cleaning a meat slicer isn't just about hygiene; it's also about safety, efficiency, and preserving the integrity of the equipment. Here are some key reasons why keeping your slicer clean is crucial:
- Prevent Cross-Contamination: If you're slicing different types of meat, vegetables, or cheese, cleaning the slicer prevents cross-contamination, which is essential for food safety.
- Maintain Sharpness: Regular cleaning ensures that the blade remains free from food residue and particles, which can dull it over time and affect the quality of cuts.
- Prolong the Slicer's Lifespan: Proper maintenance helps avoid corrosion and other wear-and-tear issues that may result from leftover food particles or grease buildup.
- Ensure Safety: Dirt and food debris can pose serious health risks, and a clean slicer reduces the chances of accidents during operation.
2. Materials and Tools You'll Need
Before diving into the cleaning process, it's important to have all the necessary materials and tools ready. Here’s a checklist of items you’ll need for effective meat slicer cleaning:
- Cleaning gloves: To protect your hands from sharp edges and cleaning chemicals.
- Non-abrasive sponge or soft cloth: To clean the slicer without scratching its surface.
- Dish soap or degreaser: To remove grease, food particles, and oils from the slicer.
- Sanitizer: A food-safe sanitizer is essential for disinfecting after cleaning.
- Brushes: A small brush helps clean hard-to-reach areas, such as around the blade and under the carriage.
- Warm water: For rinsing away cleaning products and food particles.
- Drying towels: To ensure the slicer is completely dry after cleaning.
3. How to Clean a Meat Slicer: Step-by-Step Process
Follow these steps to clean your meat slicer effectively and safely. This guide applies to both manual and electric slicers.
Step 1: Turn Off and Unplug the Slicer
Always ensure that the slicer is turned off and unplugged before cleaning. Safety should be your top priority. Unplugging it will ensure that no accidental startups occur while you're working on it.
Step 2: Disassemble the Slicer
Most meat slicers have removable parts that make cleaning easier. Carefully detach the following:
- Blade: Depending on your slicer model, you may be able to remove the blade for easier cleaning.
- Carriage: The carriage where you place the meat should be detached to allow for thorough cleaning.
- Food tray: Remove the tray or tray guard where meat is placed during slicing.
- Sharpening stones (if applicable): These can usually be removed for cleaning separately.
Refer to the user manual for instructions on how to disassemble your slicer properly.
Step 3: Wash the Removable Parts
Submerge the removable parts (carriage, food tray, blade, etc.) in warm, soapy water. Use a non-abrasive sponge or brush to scrub off any grease, food particles, or buildup. Be sure to clean both sides of the blade and around the edges where food might stick.
For the blade, avoid using harsh abrasive scrubbers, as they can damage the metal and dull the edge. You may also use a specialized blade cleaner to help remove any stubborn residue.
Step 4: Clean the Base of the Slicer
Once the removable parts are cleaned, use a damp cloth to wipe down the base of the slicer. Pay attention to the motor area, knobs, and handles. For stubborn grease or grime, apply a degreaser and allow it to sit for a few minutes before wiping it away.
For small, hard-to-reach areas, such as crevices and joints, a small brush or toothbrush is ideal.
Step 5: Sanitize the Slicer
After the slicer is clean, it’s important to sanitize it to kill any remaining bacteria or germs. Use a food-safe sanitizer and wipe down the entire slicer, paying close attention to the blade and carriage.
Step 6: Dry the Slicer Thoroughly
Once you’ve cleaned and sanitized the slicer, it’s important to dry it thoroughly to prevent rust or corrosion. Use a clean, dry towel to wipe all parts, ensuring that no moisture is left behind.
Step 7: Reassemble the Slicer
Once all parts are dry, carefully reassemble the slicer, making sure everything is securely in place. Perform a quick inspection to ensure the slicer is working properly and is free of any cleaning residue.
4. How Often Should You Clean Your Meat Slicer?
The frequency of cleaning depends on the type of meat slicer and its usage. However, here are general guidelines:
- Commercial Use: If the slicer is used frequently, such as in a butcher shop or restaurant, it should be cleaned at the end of each shift.
- Home Use: For home use, you should clean the slicer after every use. If it's used for different types of food (meats, cheeses, vegetables), a more frequent cleaning schedule may be necessary.
In addition to regular cleaning, deep cleaning should be done weekly or bi-weekly to prevent the buildup of grease and bacteria.
5. Tips for Deep Cleaning Your Meat Slicer
Sometimes, a regular clean just won't cut it. For deep cleaning, follow these steps:
- Remove the Blade: Remove the blade completely and soak it in hot, soapy water to remove any food particles.
- Clean Underneath the Carriage: Food can accumulate in the base and under the carriage. Use a cleaning brush to reach these areas.
- Disinfect Regularly: Use disinfectant wipes or a food-safe sanitizer on all surfaces, including the motor area, where food debris can hide.
6. Preventive Maintenance to Keep Your Meat Slicer in Top Shape
Preventive maintenance can extend the life of your slicer and keep it functioning smoothly:
- Sharpen the Blade: Regularly sharpen the blade to maintain its efficiency and precision.
- Grease the Moving Parts: Apply food-grade lubricant to moving parts to prevent friction and ensure smooth operation.
- Check for Rust: Inspect the slicer periodically for signs of rust, especially around the blade and metal components. Wipe it down regularly with a cloth to prevent buildup.
7. Common Mistakes to Avoid When Cleaning a Meat Slicer
Avoid these mistakes to ensure your meat slicer stays in good condition:
- Using Abrasive Cleaners: Harsh cleaners can damage the slicer’s surface and blade, so always use non-abrasive cleaning materials.
- Neglecting Regular Cleaning: Failing to clean your slicer after every use can lead to foodborne illnesses and equipment malfunction.
- Not Drying Properly: Moisture left on the slicer can lead to rust and corrosion, so always dry it thoroughly after cleaning.
8. Conclusion: Regular Maintenance Is Key to a Long-Lasting Meat Slicer
Cleaning your meat slicer is essential for maintaining its efficiency, safety, and longevity. By following the steps outlined in this guide, you can ensure your slicer is always ready to deliver clean, precise cuts every time. Regular cleaning, deep cleaning, and preventive maintenance will help you avoid costly repairs and extend the life of your slicer. Keep your equipment in top shape, and it will continue to serve you for years to come.
Must-Read Blogs For Chain Restaurants Owner

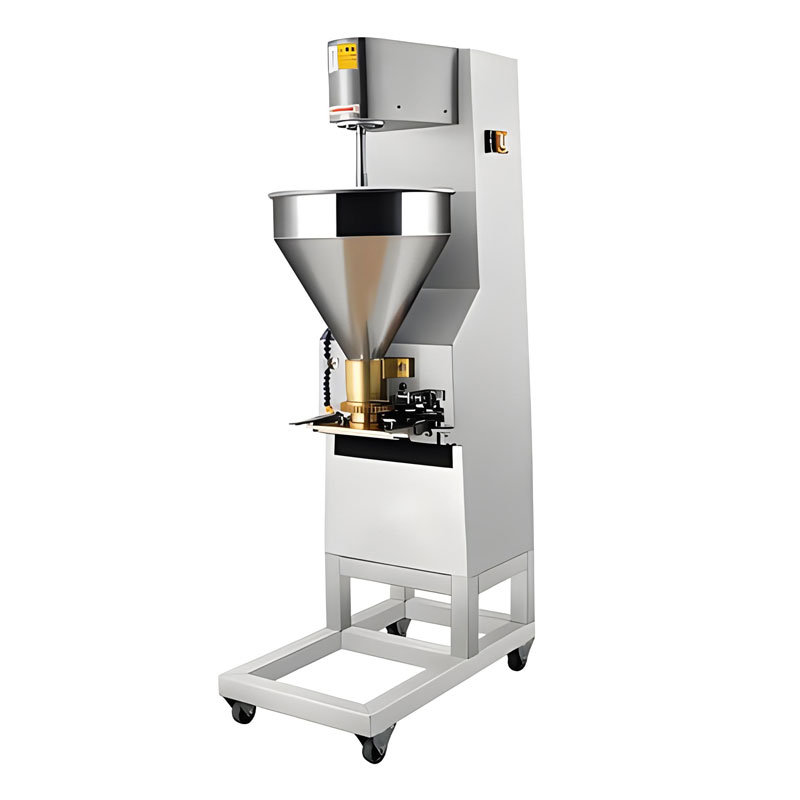
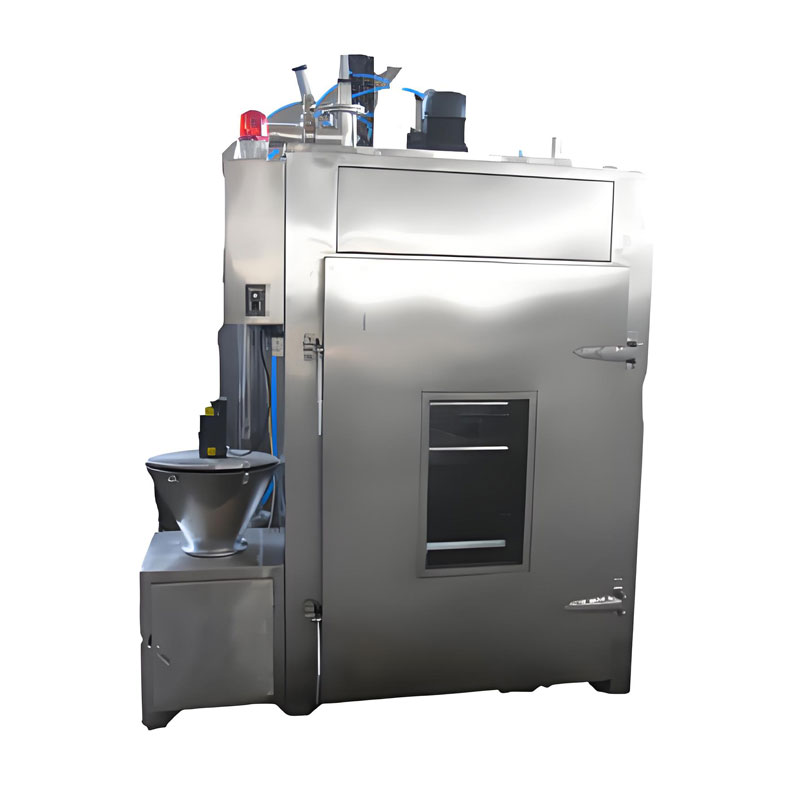
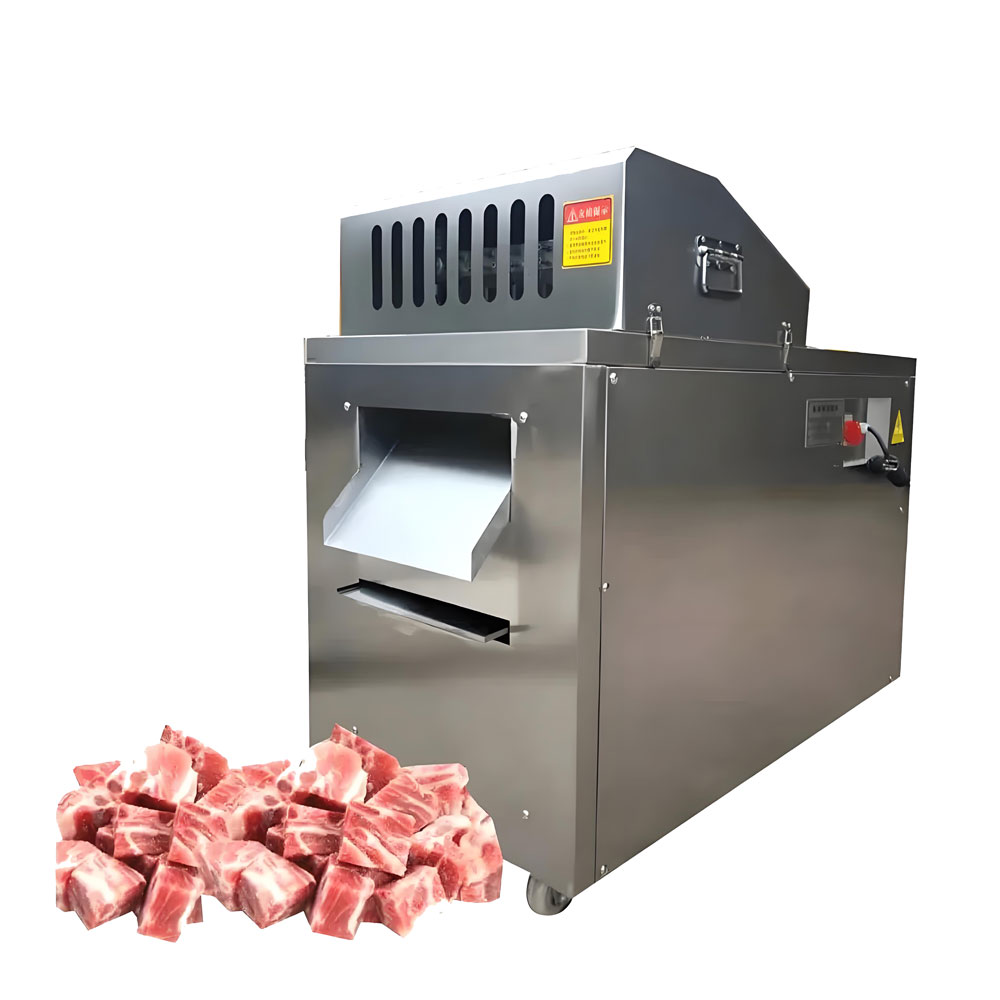

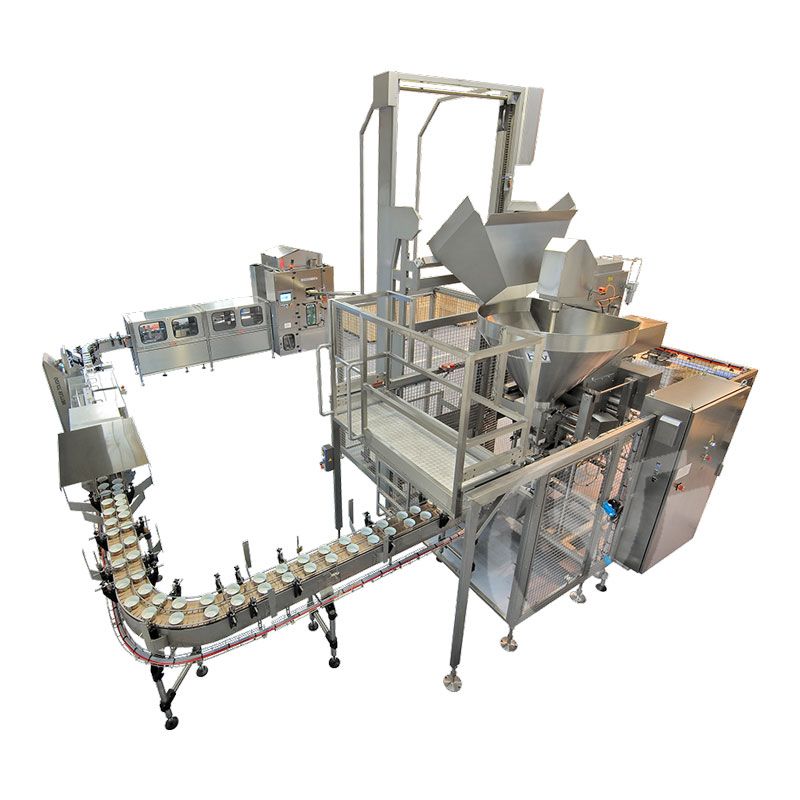 Meat Canned Food Production Line
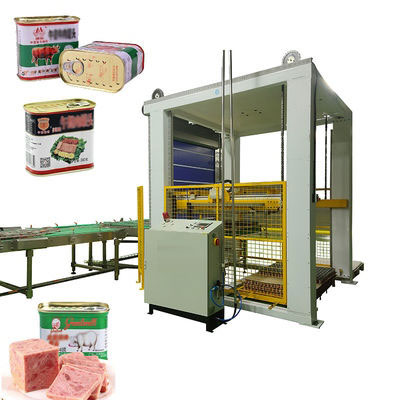 Canned Meat Production Line
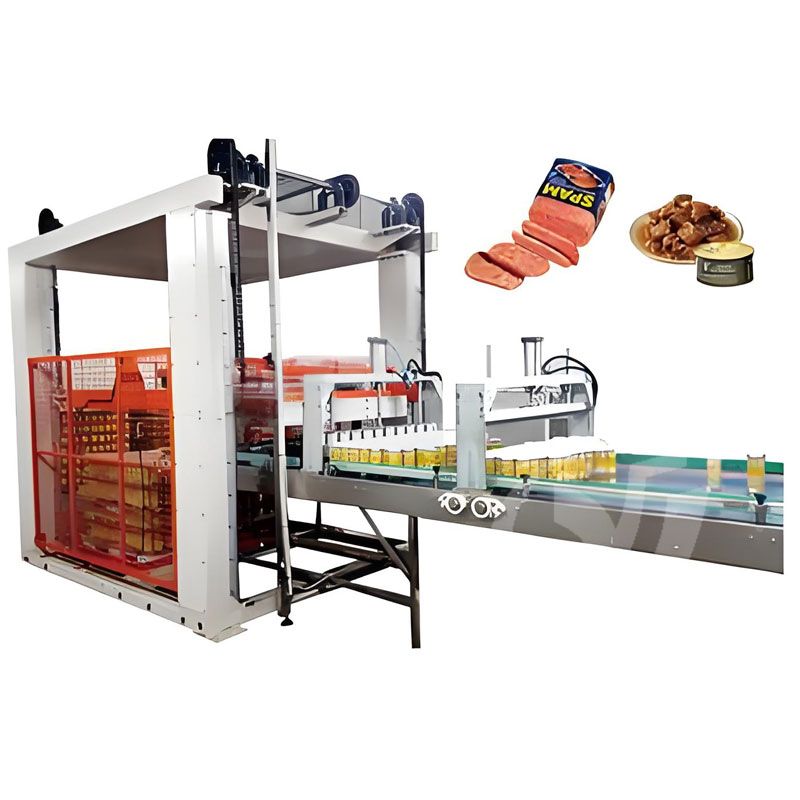 Canned Luncheon Meat Production Line
Ready to Get Started?