How To Sharpen A Meat Slicer Blade
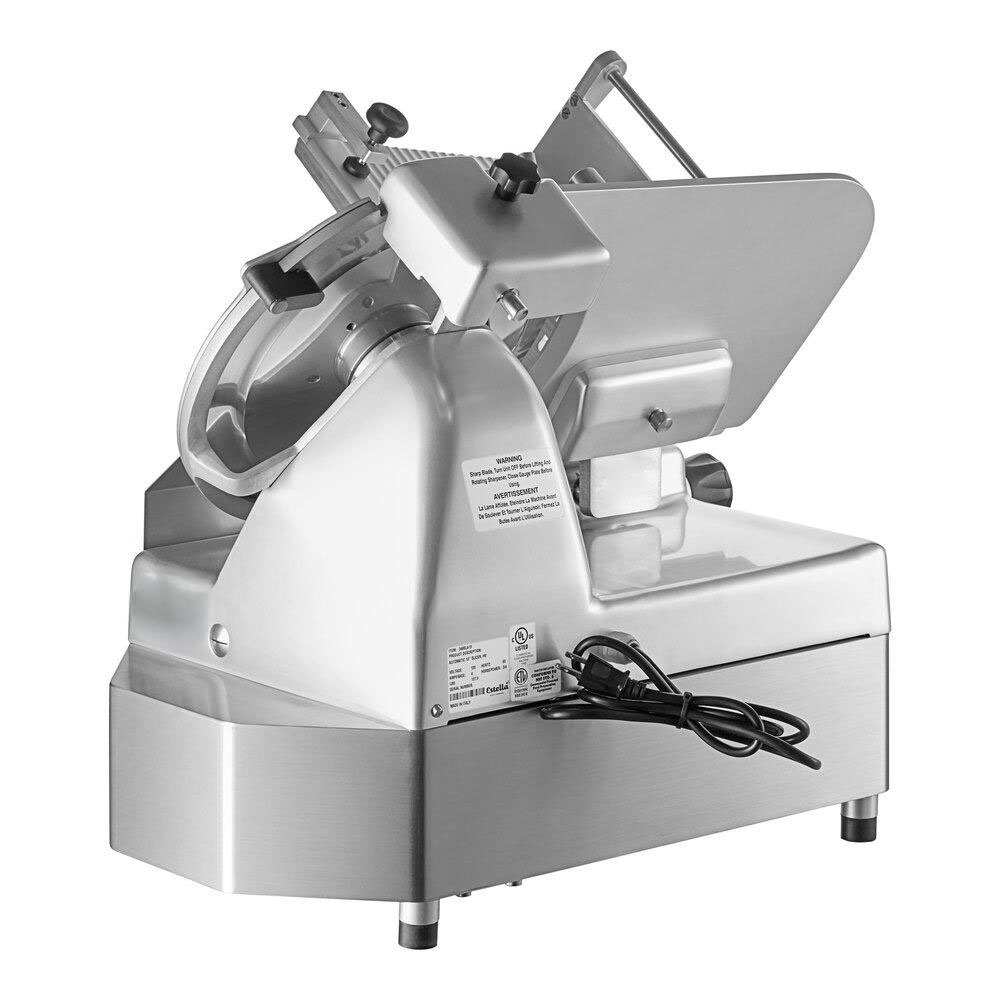
When you own a meat slicer, you know that the sharpness of the blade is crucial for both the quality of your slices and the efficiency of your equipment. A dull blade can cause uneven cuts, longer processing times, and even unnecessary wear on the motor of the slicer. If you want to prolong the life of your slicer and maintain precision in your slicing, it’s important to know how to sharpen the meat slicer blade properly.
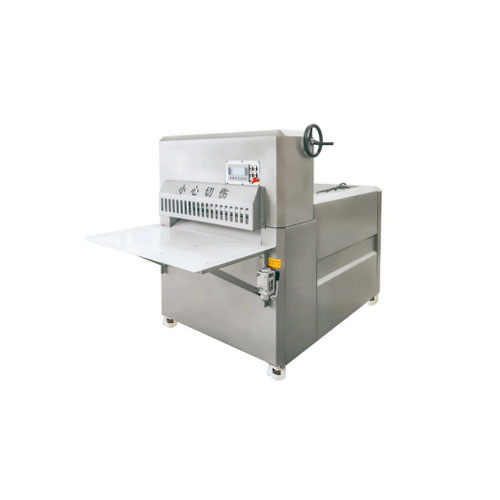
In this detailed guide, we’ll walk you through the process of sharpening your meat slicer blade, discuss the types of blades available, and provide tips for maintaining optimal performance. Whether you're working in a restaurant, butcher shop, or simply using the slicer at home, this article is designed to give you the knowledge to keep your slicer in top shape.
1. Why Sharpening Your Meat Slicer Blade is Essential
A meat slicer’s blade is a key component for achieving precise and uniform cuts. When the blade starts to dull, the slicer struggles to cut through meat, cheese, vegetables, or other foods efficiently. This can lead to longer slicing times, uneven slices, and even safety issues if you’re not careful. Sharpening the blade ensures that it cuts smoothly, extending the life of your slicer and ensuring high-quality results.
2. How Often Should You Sharpen the Meat Slicer Blade?
The frequency with which you need to sharpen your meat slicer blade depends on several factors:
- Frequency of Use: If the slicer is used daily, it will need sharpening more often than one that is used only occasionally.
- Types of Food Sliced: Slicing through dense or hard items like frozen meats or bones will dull the blade faster.
- Blade Material: Some high-quality blades retain their sharpness longer than others, so you may not need to sharpen as frequently.
On average, you should plan to sharpen the blade at least every 3 to 6 months if you're using the slicer regularly. However, always monitor the performance of the blade, as the signs of dullness can appear sooner than expected.
3. What Are the Signs That Your Meat Slicer Blade Needs Sharpening?
Before jumping into sharpening, it’s important to know how to spot when your meat slicer blade needs attention. Here are some common indicators:
- Uneven Slices: If your slices start to look uneven or ragged, it’s a clear sign the blade is dull.
- Excessive Pressure: If you need to push harder on the food to get it to slice, the blade may have lost its edge.
- Slow Slicing: When slicing becomes slower or more difficult, it indicates that the blade is not cutting as efficiently as it should.
- Nicks or Chips on the Blade: Visually inspect the blade for visible damage, such as nicks, chips, or dents.
4. Tools Required for Sharpening a Meat Slicer Blade
To sharpen a meat slicer blade properly, you’ll need the right tools. Below are the essentials:
- Sharpening Stone: A high-quality sharpening stone is one of the most common tools used for blade sharpening.
- Honing Rod: A honing rod can be used to realign the blade edge.
- Diamond Abrasive: For a more professional approach, diamond abrasives are excellent for fine-tuning the blade.
- Wrench or Screwdriver: To remove the blade from the slicer if needed.
- Screwdriver or Allen Wrench: For disassembling the slicer to reach the blade.
5. Step-by-Step Guide: How to Sharpen Your Meat Slicer Blade
Now that you have the tools ready, here’s a step-by-step guide on how to sharpen your meat slicer blade:
Step 1: Safety First
Before you begin, unplug the slicer and remove any food residue. Safety is the top priority when working with sharp equipment. Wear protective gloves and eyewear to prevent injury.
Step 2: Disassemble the Slicer
If the blade is removable, use a wrench or screwdriver to remove the blade. Ensure you understand the assembly process, so you can reassemble the slicer correctly after sharpening.
Step 3: Clean the Blade
Use a cloth or sponge to clean the blade thoroughly. Dirt or food particles can interfere with the sharpening process.
Step 4: Sharpen the Blade
- Using a Sharpening Stone: Wet the stone with water and gently run the blade across the stone at a 20-degree angle. Start from the base of the blade and work your way up to the tip. Repeat this process several times on both sides of the blade.
- Using a Diamond Abrasive: For more precision, a diamond abrasive sharpening system can provide an ultra-sharp edge. Follow the manufacturer’s instructions for the tool.
- Honing the Blade: After sharpening, use a honing rod to straighten any misalignment in the edge. Hold the rod vertically and gently pull the blade across at a 20-degree angle.
Step 5: Test the Blade
Once sharpened, carefully test the blade by slicing through some soft vegetables or a piece of meat. Ensure the blade is cutting smoothly and evenly.
Step 6: Reassemble and Clean
Once you’re satisfied with the blade’s sharpness, reassemble the slicer and clean the entire unit to remove any sharpening residue.
6. Maintaining the Sharpness of the Meat Slicer Blade
To ensure your slicer blade remains sharp for longer periods, follow these maintenance tips:
- Regular Cleaning: After each use, clean the blade and slicer to prevent buildup of food particles.
- Avoid Slicing Hard Foods: Limit slicing hard items like bones or frozen foods that can dull the blade more quickly.
- Use Proper Techniques: Avoid forcing the slicer to cut through food. Let the blade do the work for smoother cuts.
7. Common Mistakes to Avoid When Sharpening the Meat Slicer Blade
While sharpening your meat slicer blade, avoid these common mistakes:
- Using Too Much Pressure: Applying too much pressure while sharpening can damage the blade or cause uneven sharpening.
- Using the Wrong Tools: Not all sharpening stones or abrasives are suitable for every slicer. Always use tools recommended by the manufacturer.
- Not Testing the Blade After Sharpening: Failing to test the blade after sharpening can result in unnoticed imperfections that could affect slicing quality.
8. How to Extend the Life of Your Meat Slicer Blade
Here are a few tips to help you extend the life of your slicer blade:
- Sharpen Regularly but Not Excessively: Sharpen only when necessary to prevent unnecessary wear on the blade.
- Use the Right Blade for the Job: Some slicers come with different blade options for various tasks. Use the right blade for the right food to minimize dulling.
- Proper Storage: Always store the slicer and blade in a safe, dry place to prevent rust or corrosion.
9. Conclusion
Sharpening a meat slicer blade may seem like a daunting task, but with the right tools and knowledge, it can be done easily and efficiently. Regular blade maintenance is key to ensuring your slicer operates smoothly, provides high-quality slices, and lasts for years. By following this guide, you can keep your meat slicer in peak condition and avoid unnecessary repair costs.
With careful attention to sharpening techniques, proper tool use, and regular maintenance, you’ll maximize the performance and lifespan of your meat slicer.
Must-Read Blogs For Chain Restaurants Owner



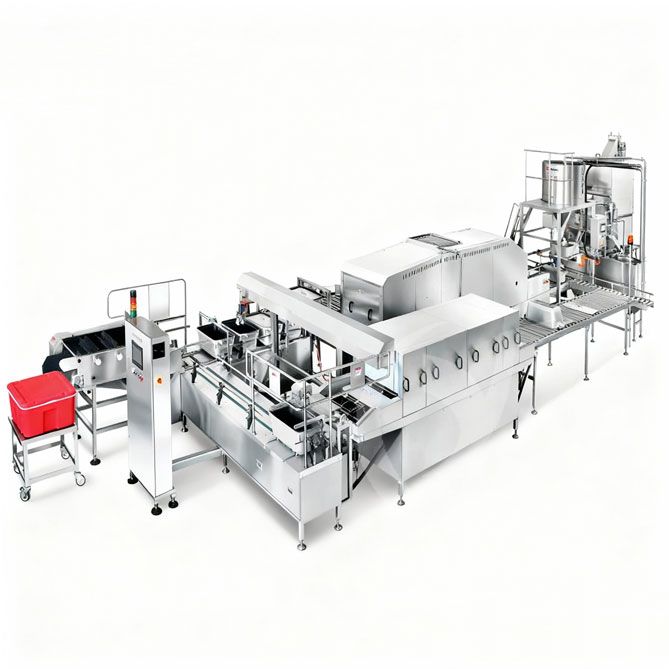
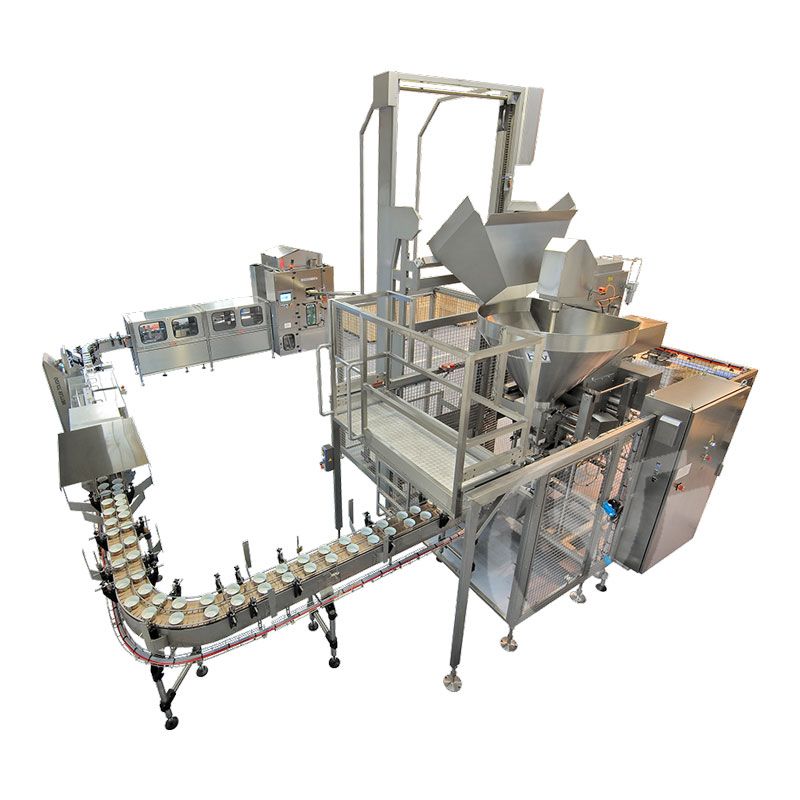 Meat Canned Food Production Line
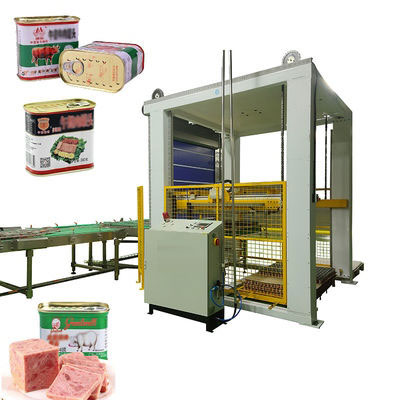 Canned Meat Production Line
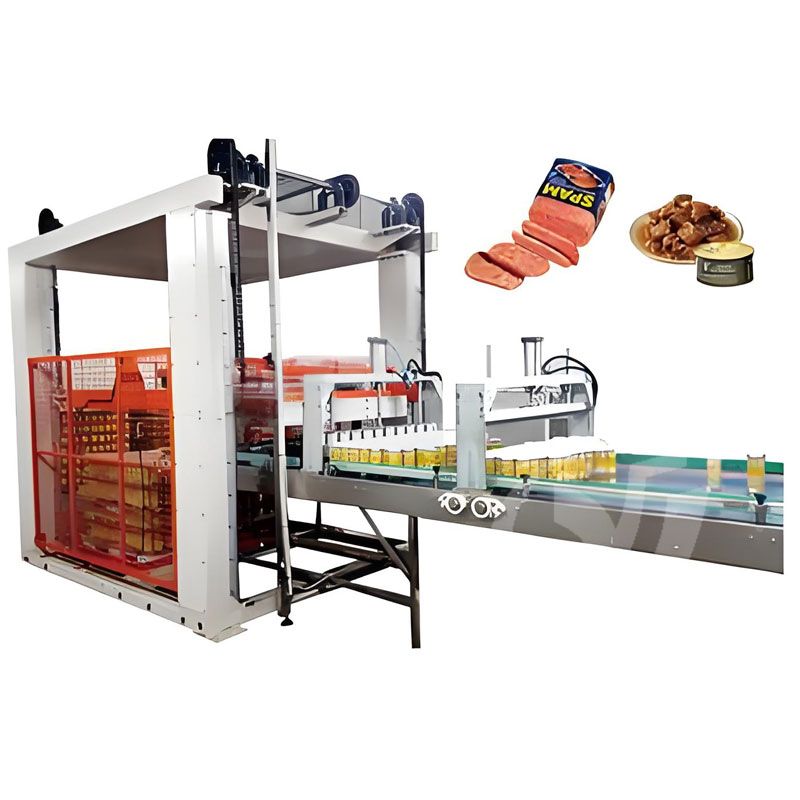 Canned Luncheon Meat Production Line
Ready to Get Started?