How To Use A Pasta Machine
Introduction
The allure of fresh pasta transcends mere sustenance; it embodies culinary craftsmanship. While kneading dough by hand holds rustic charm, the consistent results achievable with a dedicated pasta machine are unparalleled. This mechanical marvel transforms humble ingredients into silken sheets and perfect ribbons, bringing authentic Italian cucina within arm’s reach. Discover why bypassing store-bought boxes in favor of freshly extruded or rolled pasta elevates both cooking pleasure and palate sensation—welcome to the transformative world of home pasta production.
")
Understanding the Benefits of Making Pasta at Home
Why a Pasta Machine Is a Game-Changer for Fresh Pasta LoversHomemade pasta offers sensory advantages impossible to replicate commercially: unparalleled freshness yielding an ethereal texture and superior flavour absorption. Controlling ingredients ensures purity and accommodates dietary nuances. Attempting this manually, however, demands substantial effort and skill. Enter the pasta machine: it standardizes the arduous processes of sheeting and cutting. This appliance guarantees uniform thickness—critical for even cooking—and enables effortless creation of diverse shapes. Consistency, speed, and expanded culinary possibilities render it indispensable for serious enthusiasts.
Types of Pasta Machines
Manual vs. Electric: Which One Suits Your Kitchen?
Pasta machines bifurcate into manual (crank-operated) and electric models. Manual machines offer tactile control, quieter operation, and significantly lower cost. They require physical effort, particularly beneficial for beginners learning dough feel. Electric machines prioritize convenience and efficiency, automating the rolling and cutting, ideal for frequent use or larger batches. Consider available counter space, budget constraints, and intended frequency before selecting.
Choosing Between Roller-Style and Extruder-Style Machines
The fundamental dichotomy lies in the mechanism:
Roller-Style (Sheet Pasta Machines)
Most common for home use. Employ progressively narrowing rollers to flatten dough sheets. Separate cutting attachments (linguine, fettuccine, spaghetti) or hand-cutting shapes like ravioli follow. Versatile for lasagna, stuffed pastas, and ribbons.
Extruder-Style Machines
Force dough through a die using an auger, creating tubular or shaped pasta like penne, rigatoni, or fusilli directly. Require harder, drier doughs similar to commercial dried pasta. Less common in home kitchens due to complexity, harder cleaning, and higher cost.
Key Features to Look for in a Quality Pasta Machine
Prioritize:
- Material: Durable metals (stainless steel, chrome-plated steel) resist warping; avoid flimsy plastic components.
- Roller Width: Standard (150mm) suffices for most; wider (180-200mm) expedites larger sheets.
- Thickness Settings: Multiple graduated settings (typically 7-9), adjustable via dial.
- Stability: Secure clamping mechanism or a sturdy, non-slip base.
- Attachments: Availability of various cutters (spaghetti, fettuccine, angel hair) enhances versatility. Ensure compatibility.
- Ease of Cleaning: Look for easily detachable rollers and cutters for thorough sanitation.
Getting Started with Your Pasta Machine
Unboxing and Initial Setup: What to Expect
Carefully unpack components. Assembly is typically minimal—often just attaching the hand crank or clamp. Consult the manufacturer’s guide. Test clamping securely to a countertop edge. Engage the crank, ensuring rollers turn freely without grinding noises. Familiarize yourself with the thickness adjustment dial.
Understanding the Machine’s Components: Rollers, Cutters, Cranks, and Attachments
- Rollers: Two parallel cylinders compressing the dough sheet progressively thinner. Primary interface with dough.
- Cutters: Interchangeable toothed wheels slicing sheets into various pasta shapes. May require specific attachment points.
- Crank Handle: Manual rotation mechanism; removable on some models.
- Thickness Adjustment Dial: Numerically controls the gap between rollers, starting widest (#1) to narrowest (#7/8/9).
- Clamping Mechanism: Secures machine firmly to a stable counter edge.
- Attachments: Optional components like wider rollers, ravioli forms, or spaghetti spinners. Store carefully.
Proper Cleaning and Maintenance Before First Use
Manufacturing residues necessitate pre-use cleaning. Wipe all metal parts—rollers, cutter teeth, housing—with a slightly damp cloth, then dry thoroughly. Ensure no lint remains. Apply food-grade mineral oil sparingly to gear mechanisms only if recommended by the manual. Never immerse the entire machine.
Choosing the Right Ingredients
The Ideal Flour for Homemade Pasta: All-Purpose, Semolina, or 00?
The foundation dictates texture and flavour:
- "00" (Doppio Zero) Flour: Finely milled Italian soft wheat flour. Low protein (~11-12%), yielding supple, delicate sheets ideal for silky egg pasta. Less elastic.
- Semolina Flour: Coarse durum wheat flour. High protein (~12-13%), creating firm, resilient dough perfect for drier extruded shapes and rustic eggless pasta. Offers golden hue and distinctive bite.
- All-Purpose (AP) Flour: Widely accessible. Mid-range protein (~10-12%). A practical compromise, though texture might be slightly less refined than "00". Blends (e.g., 50/50 Semolina/AP or "00" / Semolina) achieve excellent balance.
Egg vs. Eggless Pasta Dough: What’s the Difference?
- Egg Pasta: Rich, golden colour and softer texture. Eggs contribute fat, richness, tenderness, and ease of rolling. Traditional for Northern Italian styles (tagliatelle, pappardelle, stuffed pastas).
- Eggless Pasta (Pasta all'Acqua): Water binds flour (often semolina or a blend). Creates firmer, chewier pasta with excellent sauce adherence. Traditional for Southern Italian styles like orecchiette or extruded shapes. Dries exceptionally well for storage.
Measuring with Precision: Why Ratios Matter in Pasta Dough
Pasta dough tolerates little margin for error. Precision with flour-to-liquid ratios prevents frustrations—too dry cracks; too wet sticks irrevocably. Digital kitchen scales ensure accuracy. Standard ratios:
- Egg Pasta: Approximately 100g flour per large egg (~50g without shell).
- Eggless Pasta: Roughly 200g flour to 100ml water or liquid. Adjust minutely based on flour absorption (humidity affects this).
Making the Perfect Pasta Dough
Mixing Techniques: By Hand, Food Processor, or Stand Mixer
- By Hand: The traditional method offers superior dough feel. Mound flour, create a well, add wet ingredients. Gradually incorporate flour with a fork. Develops intimate understanding of dough consistency.
- Food Processor: Fastest option. Pulse flour and salt briefly. Add eggs/liquid while pulsing until resembling coarse crumbs. Requires monitoring to avoid overheating dough.
- Stand Mixer (Dough Hook): Efficient for larger batches. Combine ingredients on low speed until a shaggy dough forms. Avoid overmixing. Supplement with hand kneading.
Kneading for Texture: How Long Is Long Enough?
Kneading develops gluten structure essential for elasticity and strength. Turn, fold, and press the dough firmly using heel of hand. Duration is tactile: target a smooth, supple surface yielding slightly to touch, typically 8-12 minutes. Over-kneading creates toughness; under-kneading risks tearing during rolling. A properly kneaded dough feels malleable like playdough.
Resting the Dough: Why It’s Crucial for Elasticity
Post-kneading, wrap dough tightly in plastic wrap or a damp cloth. Rest for 30 minutes minimum at room temperature. Hydration equilibriates throughout, while gluten relaxes. This critical step prevents springy, unmanageable dough that fights the rollers. Resting bestows that coveted pliability essential for effortless sheeting.
Preparing Dough for the Machine
Dividing and Flattening: Getting the Dough Machine-Ready
Divide rested dough into manageable portions (approximately 1/4 or 1/6 the total mass). Keep unused portions covered. Lightly knead a piece briefly. Shape it into a smooth oval or rectangle. Flatten this firmly with a rolling pin or palm until about 1/2 to 3/4 inch thick. Ensure even thickness. This initial reduction eases the dough into the machine’s rollers without undue stress.
Dusting Tips to Prevent Stickiness and Tearing
Light dusting is vital, yet excessive flour alters dough composition and causes dryness. Employ a fine-mesh sieve. Dust the flattened dough piece minimally on both sides. Generously dust the machine rollers themselves initially. Replenish with a light pinch on the dough surface only if sticking occurs mid-process. Semolina flour makes an excellent non-stick dusting agent.
Shaping Dough Into Manageable Pieces
Working with small sections prevents overwhelming the machine and drying out large sheets prematurely. Small portions facilitate handling through the progressive thickness settings. Ensure cut edges are neat; ragged edges often snag or tear during initial feeding. Maintain an oblong shape aligned for smooth entry into the rollers.
Rolling the Dough
Adjusting Thickness Settings on the Machine
Commence with rollers at widest setting (#1). Feed flattened dough through. Fold this sheet into thirds (like a letter). Re-roll through #1 again. Repeat folding/re-rolling 2-3 more times at #1. This initial lamination builds strength. Now, progress sequentially through settings: #2, #3, etc., passing the sheet once per setting, without folding. Gradually dial down to desired thickness.
Step-by-Step Guide to Rolling Dough Evenly
- Set rollers to #1. Dust dough lightly. Feed slowly, guiding with one hand near output. Catch with other hand.
- Fold resulting sheet into thirds, rotate 90 degrees, feed folded edge first through #1 again. Repeat 2-3 times.
- Proceed without folding: Pass sheet once through #2. Note increased length.
- Continue sequential reduction (#3, #4...). Feed dough smoothly. Maintain gentle tension front and back without stretching.
- If sheet becomes unwieldy long, cut it in half crosswise halfway through settings.
- Stop at setting appropriate for final shape (e.g., fettuccine ~#5, delicate fillings ~#6-7, lasagna #4).
When to Fold and Re-roll for Better Texture
Folding occurs exclusively during the initial passes at the widest setting (#1) as described above. This develops gluten alignment and removes imperfections. Once past setting #2, never fold and re-roll at the same or narrower settings. This damages gluten structure, trapping air and creating weak spots. Sequential reduction is linear after initial laminations.
Cutting the Pasta
Using the Built-In Cutter vs. External Attachments
Roller-style machines typically offer:
- Built-In Cutters: Compact cutters integrated directly below rollers. Often "fettuccine" sized. Simple to use—switch roller knob to "cut", feed sheet through.
- External Attachments: Separate units clamped where rollers attach. Offer wider variety (spaghetti, angel hair, pappardelle). Ensure secure fitting. May require cranking slightly slower due to friction.
Making Fettuccine, Tagliatelle, Linguine, and More
Select the appropriate cutter width:
- Tagliatelle: ~8-10mm width.
- Fettuccine: ~6-8mm width.
- Linguine: ~3-4mm width (often called "Spaghettini" attachments).
- Pappardelle: ~15-20mm width (sometimes requires hand-cutting sheet).
Dust the entire dough sheet well, especially before cutting. Feed sheet slowly and evenly into cutter. Support strands as they emerge to prevent kinking. Lay strands gently on a drying rack or floured surface.
Avoiding Sticking and Clumping During Cutting
Adequate dusting before cutting is paramount. Semolina dusting works exceptionally here. Feed sheet at a consistent pace—rushing forces dough. Immediately separate strands as they exit cutter, gently tossing them in more dusting flour. Never let cut pasta pile onto itself uncooked. Air circulation prevents clumping.
Drying and Storing Fresh Pasta
How Long Should You Let Pasta Dry?
- For Immediate Cooking: Rest cut strands loosely on floured surface or draped on racks for 10-30 minutes. Firms surface slightly.
- For Short-Term Storage (1-3 Days): Dry thoroughly on drying rack/broom handle until completely stiff and brittle (several hours to overnight depending on humidity).
- For Freezing: Lay portions flat on a sheet pan, freeze solid, then transfer to airtight bags. Cook frozen without thawing.
Using a Drying Rack, Broom Handle, or Kitchen Chair
- Pasta Drying Racks: Dedicated wooden dowel racks offer excellent airflow.
- Broom Handle/Smooth Wooden Dowel: Secure over sink or between chairs. Elegant solution for long noodles.
- Kitchen Chair Backs: Drape shorter strands over clean chair rungs covered lightly with parchment or towel.
Avoid direct sunlight or heat vents causing uneven drying.
Short-Term and Long-Term Storage Techniques
- Short-Term (Next 24 Hours): Nest dried portions loosely in airtight container or ziplock bag with parchment layers. Refrigerate.
- Long-Term Freezing: Best for cut pasta. Portion nests or sheets (for stuffed pasta). Freeze solid on trays first. Vacuum sealing prevents freezer burn but isn’t essential. Use within 2-3 months for peak quality.
- Dried Pasta: Store crisp, thoroughly dried pasta in airtight containers at room temperature for several weeks.
Cooking Fresh Pasta
How Fresh Pasta Cooks Differently Than Dried
Fresh pasta cooks dramatically faster—usually 1 to 3 minutes versus 8-12 for dried. It absorbs sauce rapidly and has a more delicate, yielding texture ("al dente" translates differently; fresh pasta shouldn’t be crunchy). It releases starch readily, contributing to sauce emulsification.
Ideal Boiling Times for Different Pasta Types
- Thin Ribbons (Linguine, Angel Hair): 1-2 minutes after water resumes boil.
- Medium Ribbons (Fettuccine, Tagliatelle): 2-3 minutes.
- Stuffed Pastas (Ravioli, Tortellini): 3-5 minutes.
- Thick Ribbons (Pappardelle): 3-4 minutes.
Taste constantly. Fresh pasta indicates doneness by floating and tenderness.
Salting the Water: How Much Is Enough?
Heavily salt the cooking water—it seasons the pasta internally. Aim for salinity akin to seawater: approximately 1-2 tablespoons per gallon/litre of water. Add salt after water boils but before adding pasta. Undersalted pasta tastes bland regardless of sauce intensity.
Flavor and Color Variations
Incorporating Herbs, Spinach, or Squid Ink into Dough
Infuse during mixing:
- Herbs: Finely mince robust herbs (basil, parsley, oregano). Add directly with wet ingredients (approx 2 tbsp chopped per 100g flour).
- Spinach: Blanch, squeeze thoroughly dry, puree smooth. Substitute puree for some egg/water (approx 50-60g purée per 100g flour).
- Squid Ink: Highly concentrated. Add 5-10g sachet to wet ingredients per 200g flour. Creates dramatic black pasta.
Making Beetroot, Saffron, or Tomato Pasta from Scratch
- Beetroot: Roast or boil beets until tender. Puree smooth, strain if needed. Use instead of egg/water (approx 60-70g purée per 100g flour). Vibrant magenta.
- Saffron: Steep threads in warm water or egg (15-20 mins), use infused liquid. Imparts golden hue and subtle flavour (approx 1/2 tsp threads per 300g flour).
- Tomato: Use high-concentrate tomato paste or sun-dried tomato paste. Blend into wet ingredients (approx 1-2 tbsp paste per 100g flour). Adjusts dough hydration slightly.
Using Natural Ingredients for Vibrant Homemade Pasta
Embrace botanical colors:
- Turmeric: Yellow/Orange (powder, add with flour).
- Paprika: Orange/Red (powder).
- Spirulina Powder: Vibrant green.
- Activated Charcoal: Stark black (use sparingly).
Start with small quantities (1/2 to 1 tsp per 200g flour) to avoid overwhelming flavour. Note these may affect hydration minimally.
Stuffed Pasta Techniques
Rolling Dough for Ravioli, Tortellini, and Agnolotti
Sheet dough finely (setting #5-#7 depending on filling firmness). Ensure sheets are well-dusted but avoid excess flour between layers. Work quickly to prevent drying. Cover sheets not in immediate use with a damp towel or plastic wrap.
Using Pasta Machine Attachments for Filled Pasta
- Ravioli Trays: Press dough sheet onto the tray. Fill depressions with measured filling. Lay a second sheet atop. Roll a rolling pin over the tray to seal and cut.
- Ravioli Stampers: Hand-cut circles from rolled sheets. Place filling on one circle, moisten edges, cover with second circle. Press stamper to seal and crimp.
- Tortellini/Agnolotti: Typically hand-shaped. Rolled sheets are cut into squares or circles using a knife or pastry wheel before folding.
Filling Tips and Sealing Methods That Work Every Time
- Filling: Use cooked, dry fillings (ricotta squeezed dry, cooked meat finely minced/mashed). Excess moisture causes leaks. Leave a substantial border clear (~1/2 inch).
- Sealing: Apply a light egg wash or water only to one side of the border—usually the base sheet. Press firmly around filling edges, starting from one corner to expel air pockets. Ensure hermetic seal. Use a pastry wheel or stamp to cut and crimp edges securely. Press out air.
Troubleshooting Common Issues
Dough Is Too Dry or Too Wet: What to Adjust
- Too Dry (Crumbly, cracks): Mist dough lightly with water. Knead minimally to incorporate. Rest covered briefly. Persistently dry? Insufficient initial liquid. Add tiny increments of liquid next batch.
- Too Wet (Sticky, sags): Sprinkle work surface and dough with small flour amounts. Knead gently to absorb. Do not overload—add gradually until manageable. Persistently wet? Increase flour ratio next batch.
Why Pasta Is Tearing or Coming Out Uneven
- Insufficient Kneading/Resting: Weak gluten structure tears. Ensure thorough kneading and rest.
- Rolling Too Fast: Rushing compromises sheet integrity. Slow down.
- Skipping Settings: Jumping multiple thickness settings prevents gluten gradual adaptation, causing rupture. Progress sequentially.
- Uneven Feeding: Feeding dough tilted angles creates irregular thickness and tearing. Align carefully.
Preventing Dough from Getting Stuck in the Machine
- Adequate Dusting: Essential before each feed, especially the rollers and dough surface. Use semolina or flour.
- Proper Dough Consistency: Ensure dough is supple but not overly tacky. Adjust moisture.
- Correct Setting Start: Begin on widest setting (#1) with flattened dough.
- Gentle Guidance: Support dough gently as it enters and exits rollers; avoid forceful pushing or pulling.
- Clean Teeth: If using cutters, ensure no dough remnants obstruct blades.
Cleaning and Maintaining Your Pasta Machine
Dos and Don’ts of Pasta Machine Cleaning
- DO: Wipe down thoroughly immediately after use while dough residue is soft. Disengage rollers if possible. Use a stiff bristle brush for teeth. Wipe with damp cloth.
- DO: Dry meticulously after washing/contact with water.
- DO: Store in a clean, dry place.
- DON’T: Immerse the entire machine in water or use abrasive cleaners.
- DON’T: Use knives or metal tools to scrape rollers/cutters.
- DON’T: Force stuck dough through. Disengage and remove carefully.
Dealing with Dried Dough in the Rollers
Unplug or remove crank. Dampen a cloth with warm water. Lay cloth over stubborn residue for several minutes to soften. Gently scrub with a soft-bristled toothbrush or nylon brush. For cutter teeth, carefully use wooden toothpicks. Avoid soaking mechanisms. Patience is key.
Oiling, Storing, and Caring for Longevity
Unless specified by manual, avoid lubricating internal gears unnecessarily. If recommended, use minimal food-grade mineral oil annually. Regular immediate cleaning prevents buildup. Store disassembled attachments separately in a box/container to prevent dust accumulation and impact damage. Clamp disengaged or store base separately.
Creative Uses for Your Pasta Machine
Making Crackers, Dumpling Wrappers, and Flatbreads
- Crackers: Roll out bread dough, pie dough, or specific cracker dough thin (#3-5), dock, season, cut, bake.
- Dumpling Wrappers: Roll Asian dumpling dough recipes thin (#5-6). Cut circles using a biscuit cutter.
- Flatbreads: Roll pizza or focaccia dough portions evenly (thicker settings #2-3) before grilling/baking.
Using the Machine for Fondant or Craft Projects
The machine excels at thinning polymer clay or rolled fondant for crafts (sugarcraft, cake decorating, pottery slabs). Dedicate separate rollers if possible. Maintain immaculate hygiene standards for food-related crafts. Clean meticulously before returning to food use.
Exploring Regional Pasta Shapes with Optional Attachments
Beyond standard cutters:
- Reginetti/Gigli Cutters: Create fluted edges.
- Pappardelle Attachments: Wider than fettuccine.
- Maltagliati: Special cutters for irregular "poorly cut" pasta.
- Extruder Attachments (on roller machines): Limited range like spaghetti may exist. Opens new shape avenues within your machine's capability.
Safety Tips and Best Practices
Handling Blades and Rollers Safely
Rollers exert significant pressure. Never put fingers near the roller nip point while cranking. Handle cutters by their edges. Keep attachments stored securely to prevent accidental knocks. Be vigilant during threading; use provided plastic pushers if available.
Supervising Children Around Pasta Machines
Machinery and blades pose risks. Strict supervision mandatory. Reserve cranking and cutting duties for adults. Children can participate safely by dusting surfaces or shaping pre-cut dough under close guidance. Emphasize safe distance during active machine use.
Storing the Machine Properly After Use
Ensure machine is completely dry and free from dough particles. Clamping mechanism should be relaxed. Detach crank. Store attachments securely to avoid damage. Place in a cupboard or storage box away from humidity or potential impacts. A clean machine lasts generations.
Advanced Pasta-Making Techniques
Laminating Herbs and Designs into Pasta Sheets
Achieve stunning visuals:
- Roll dough to setting #3.
- Place herb leaves (e.g., basil, sage, tarragon) or edible flowers in desired pattern on half sheet.
- Lightly mist or brush with water.
- Fold other half over to encapsulate herbs.
- Re-roll the entire packet gently through progressively thinner settings (#4 to #6) to desired thickness.
- Patterns appear encapsulated within the sheet. Handle extra carefully during cutting. Ideal for showstopper ribbons or ravioli.
Layering Colors for Striped or Marbled Pasta
- Stripes: Roll two different coloured doughs into equal-length sheets at same thickness. Lightly moisten top surface of one. Place second sheet atop. Roll combined sheet gently through one thinner setting to fuse. Cut as desired; stripes run longitudinally.
- Marbling: Combine small amounts of different coloured doughs. Fold and knead minimally—just 3-5 folds—to create streaks without fully blending. Rest briefly. Roll out normally. Patterns swirl dramatically.
Mastering Sheet Thickness for Lasagna and Cannelloni
- Lasagna Noodles: Roll to setting #4 or #5. Sheets need structure to hold sauce/cheese but cook through without leatheriness. Precook sheets briefly (blanch) before layering unless using "no boil" method with very moist sauce.
- Cannelloni/Manicotti Tubes: Roll large, durable sheets (setting #3 or #4). Cut into rectangles. Par-boil briefly to make pliable. Roll rectangles around filling immediately after blanching, or wrap filling in dry sheets and bake longer covered generously with sauce. Sheet needs robustness for shaping.
Recommended Tools and Accessories
Top-Rated Pasta Machine Brands and Models
Based on durability, features, and user feedback:
- Marcato Atlas Wellness 150: Industry standard manual roller. Chrome-plated, stable clamp, numerous attachments.
- KitchenAid Stand Mixer Pasta Roller & Cutter Set: Electric convenience for KitchenAid owners.
- Imperia Pasta Machine: Durable manual roller (similar to Marcato).
- Philips Avance Series: Well-regarded electric extruder/pasta maker combos. Good for variety.
- Lello Meav PastaMaster: Premium electric extruder favoured for authentic shapes.
Useful Extras: Rolling Pins, Drying Racks, Dough Scrapers
- French Rolling Pin: Tapered ends ideal for thinning edges manually after initial machine rolling or for smaller pieces.
- Wooden Drying Rack/Dowels: Essential for proper airflow drying without clumping.
- Bench Scraper/Dough Cutter: Invaluable for portioning, scooping flour, cleaning surfaces.
- Pastry Wheel: Fluted or plain, perfect for cutting sheets for ravioli or tagliatelle by hand.
- Fine-Mesh Sieve: Crucial for controlled dusting.
- Digital Kitchen Scale: Non-negotiable for accuracy.
Where to Buy Attachments for Cutting and Extruding Pasta
Brand-specific attachments available via:
- Manufacturer websites (Marcato, KitchenAid)
- Major culinary retailers (Sur La Table, Williams Sonoma, Crate & Barrel)
- Specialized online kitchenware stores
- Amazon/eBay (verify authenticity/compatibility)
- Gourmet food shops
Pasta Machine Recipes to Try
Beginner’s Egg Pasta Dough Recipe
- Ingredients: 300g "00" flour (or AP), 3 large eggs (~50g each without shell), 1 tsp olive oil (optional), 1 pinch salt
- Method: Pulse flour and salt. Add eggs and oil. Process/knead until smooth ball forms. Knead 8 mins. Rest 30 mins wrapped. Portion, roll, cut as desired.
Whole Wheat Pasta for a Nutty Flavor
- Ingredients: 200g whole wheat flour, 100g "00" or AP flour, 3 large eggs, 1 tbsp olive oil, 1-2 tbsp water (if needed)
- Method: Combine flours and salt. Whisk eggs and oil. Mix into flours gradually. Knead 10 mins, adding water dropwise only if too crumbly. Rest 30 mins. Roll slightly thicker (stop at #4) due to bran.
Spinach Fettuccine with Garlic Alfredo Sauce
- For Pasta: Use Beginner's recipe above, substituting 50g well-squeezed spinach puree for one whole egg. Aim for ~250g flour total for the puree + 2 eggs.
- For Sauce: Melt 60g butter. Sauté 2 minced garlic cloves 1 min. Whisk in 250ml heavy cream gently simmer 3 mins. Off heat, whisk in 80g grated parmesan until melted. Season. Toss freshly cooked spinach fettuccine immediately in sauce. Garnish pepper/nutmeg.
FAQs About Using a Pasta Machine
Can I Use Gluten-Free Dough in a Pasta Machine?
Yes, but exercise caution. GF doughs are often brittle and sticky. Use robust xanthan gum/psyllium husk blends specifically for pasta. Roll thickly first (#1-2) and use shorter settings progression. Dust copiously with GF flour. Be exceptionally gentle during handling; tear risk is higher. Attachments often work acceptably.
How Often Should I Clean My Pasta Machine?
After every use, without exception. Fresh dough residue hardens rapidly, impairing function and attracting pests. Prompt cleaning prevents buildup. A quick wipe down suffices for the housing/crank; rollers/cutters require thorough brushing and wiping until residue-free. Immediate action is easiest.
Do I Need a Stand Mixer or Can I Make Pasta Entirely by Hand?
A stand mixer (or food processor) simplifies large-batch mixing but remains optional. Mixing and kneading pasta dough by hand is entirely feasible and traditional. The pasta machine itself, however, replaces the exceptionally laborious manual task of rolling and cutting to consistent thinness—its primary value proposition. Hand-rolling to machine thinness demands significant time and expertise. The machine is the indispensable component for replicating artisan results consistently.
Is It Okay to Freeze Fresh Pasta After Cutting It?
Absolutely. Freezing is an excellent preservation method for fresh pasta. Lay cut pasta (nests or individual strands/pieces) in a single layer on baking sheets lined with parchment. Freeze until rock solid (1-2 hours). Transfer frozen pasta to airtight freezer bags or containers. Cook directly from frozen—add ~30 seconds boiling time. Use within 2-3 months for optimal texture. Ensure no clumps form during freezing.
Conclusion
Mastering the Art of Homemade Pasta with Confidence
The journey from flour and eggs to shimmering ribbons of al dente perfection is profoundly rewarding. Acquaintance with your pasta machine—its rhythms, capabilities, and quirks—unlocks culinary artistry once confined to trattorias. Each batch refines technique, building intuitive understanding of dough feel and machine handling.
Why Practice, Patience, and a Pasta Machine Make All the Difference
Perfection arrives incrementally. Initial attempts may challenge expectations—torn sheets, clumped noodles. Persist. Mastery stems from repetition, observation, and patience. The pasta machine remains your steadfast partner, delivering consistent transformation of raw ingredients into culinary silk with each crank. Through practice, the subtle nuances of hydration, texture, and technique crystallise. Soon, crafting fresh pasta becomes second nature, elevating everyday meals into occasions of genuine, delicious accomplishment. The difference truly lies within your hands.
Must-Read Blogs For Chain Restaurants Owner
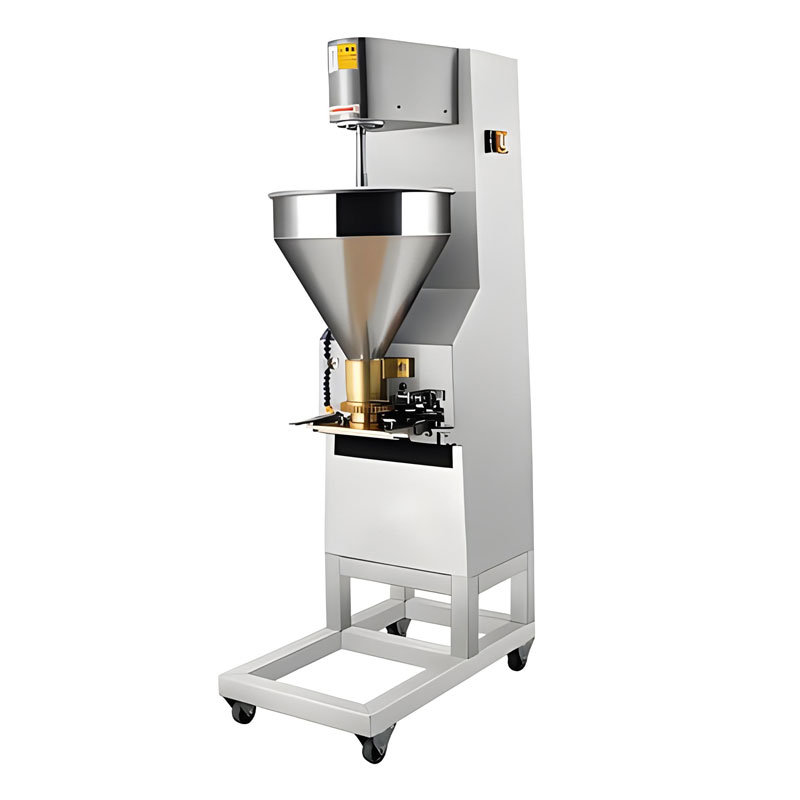


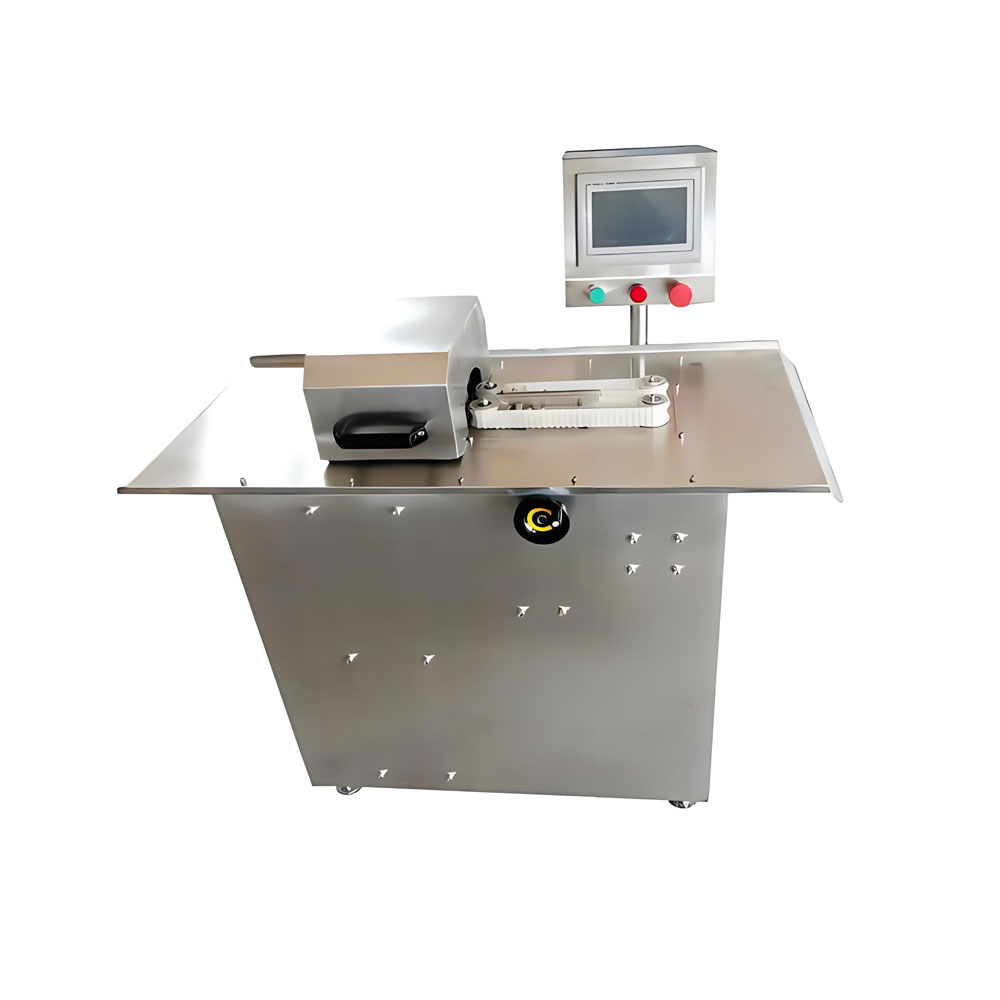
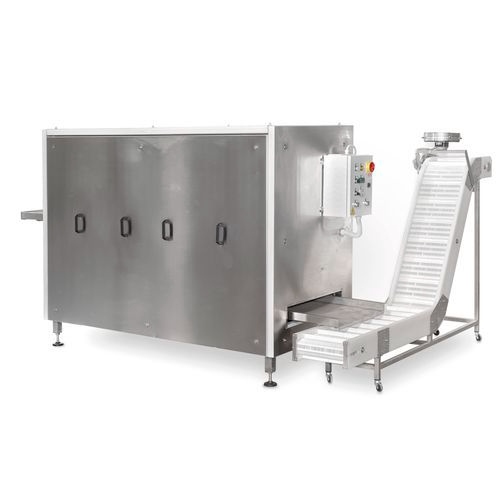 Commercial Dry Pasta Machine
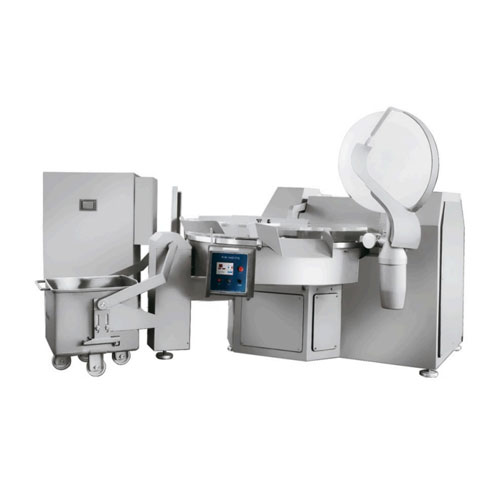
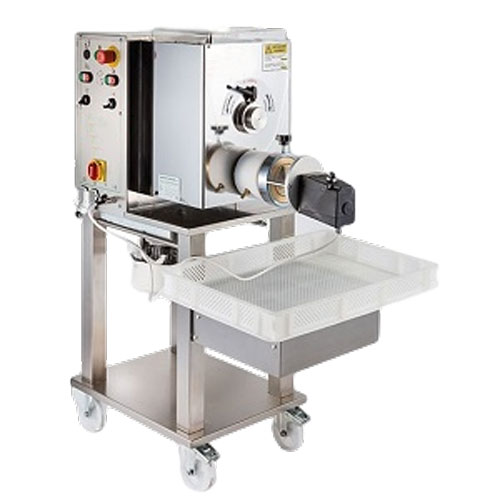 Commercial Pasta Extruder
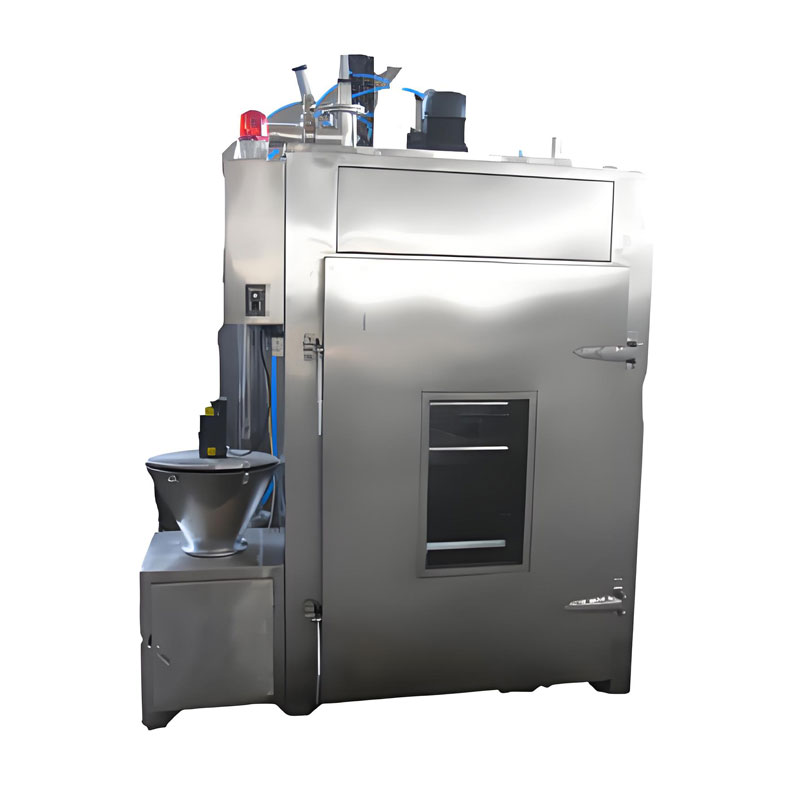
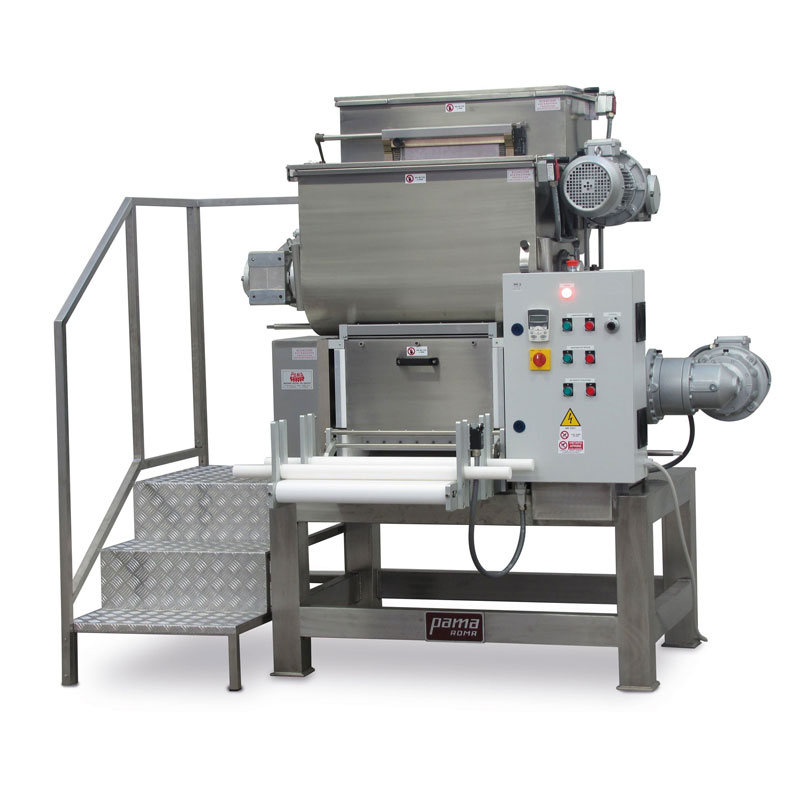 Commercial Pasta Sheeter
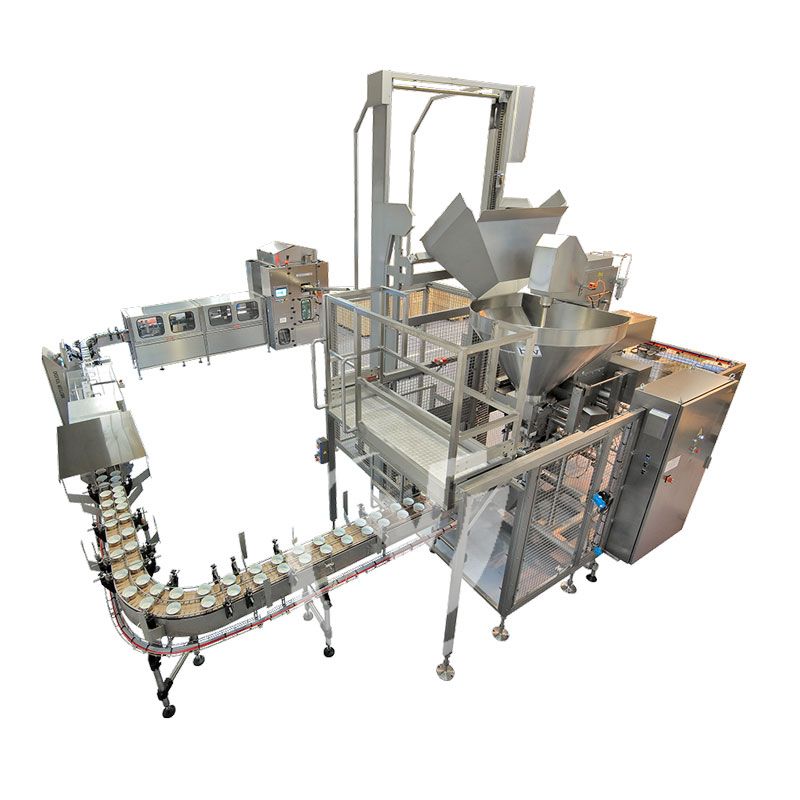
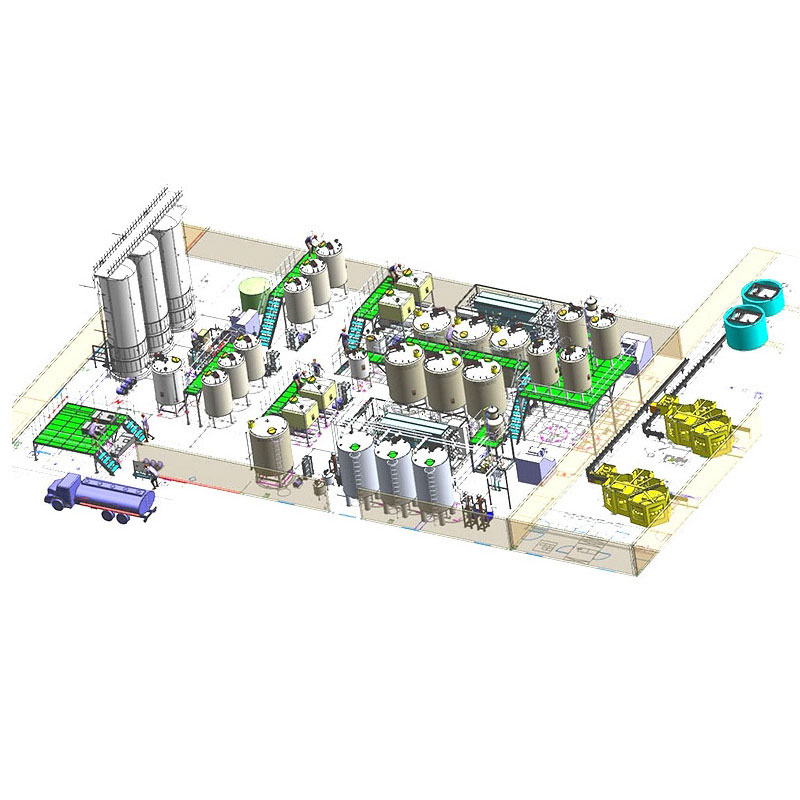
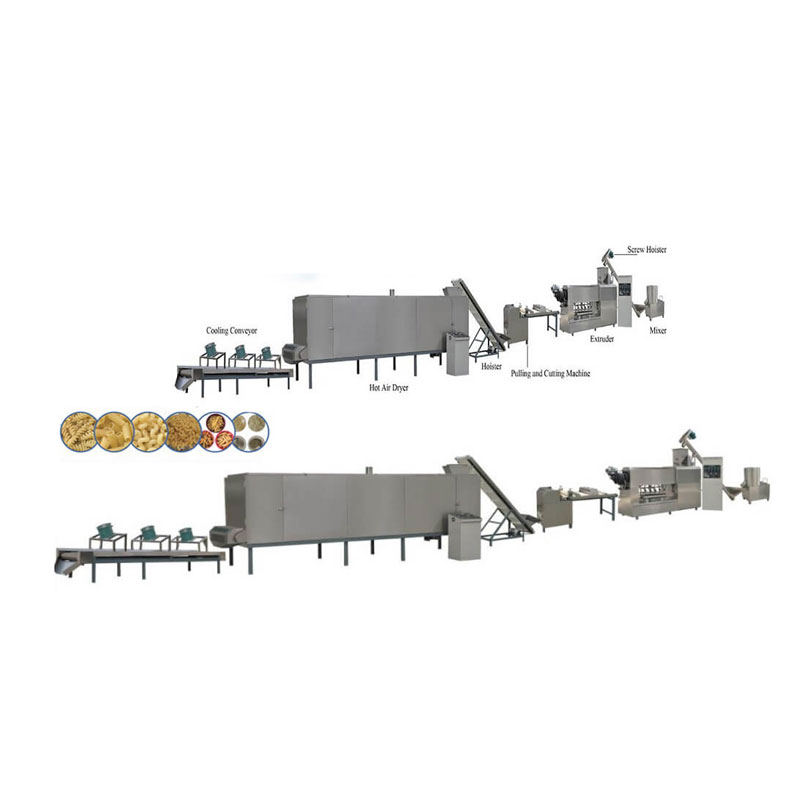 Pasta Production Line
Ready to Get Started?