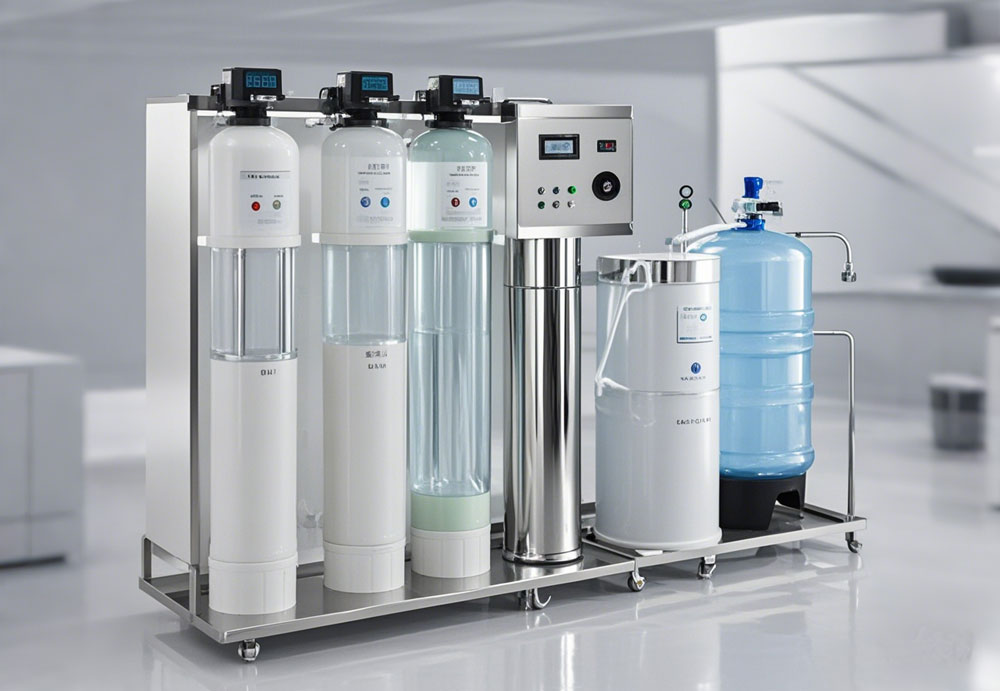
Water purifiers have become essential household appliances, ensuring that we have access to clean and safe drinking water. However, to maintain their efficiency and longevity, it's crucial to regularly clean and replace their filter elements. This comprehensive guide will walk you through the steps to correctly clean and replace the filter element of a water purifier, ensuring optimal performance and water quality.
Water purifiers play a vital role in providing us with clean and safe drinking water. Over time, the filters in these purifiers can become clogged with contaminants, reducing their effectiveness. Knowing how to clean and replace the filter elements correctly is essential for maintaining the performance of your water purifier. In this guide, we will explore the steps involved in cleaning and replacing different types of filters used in water purifiers, including sediment filters, carbon filters, and reverse osmosis (RO) membranes.
Sediment filters are the first line of defense in a water purifier. They remove dirt, sand, and other particulate matter from the water. Regularly cleaning and replacing sediment filters is essential to prevent clogging and ensure the longevity of the subsequent filters in the system.
Carbon filters are crucial for removing chlorine, bad odors, and other harmful chemicals from the water. These filters use activated carbon to adsorb contaminants, improving the taste and safety of the water. Carbon filters should be replaced every 6-12 months to maintain their effectiveness.
RO membranes are used in reverse osmosis systems to remove dissolved salts, heavy metals, and other impurities from the water. These membranes have a longer lifespan compared to other filters but still require regular maintenance and replacement every 24 months to ensure optimal performance.
- Turn off the Water Supply: Before starting the cleaning process, turn off the water supply to the purifier to prevent any water flow.
- Remove the Filter Housing: Unscrew the filter housing using a filter wrench if necessary. Be prepared for some water spillage.
- Remove the Sediment Filter: Take out the sediment filter from the housing and inspect it for dirt and debris.
- Clean the Filter Housing: Rinse the filter housing with warm water and a mild detergent to remove any accumulated dirt.
- Reassemble the Filter Housing: Place the cleaned or new sediment filter back into the housing and screw it back onto the purifier.
- Turn on the Water Supply: Turn on the water supply and check for any leaks. Run water through the system for a few minutes to flush out any remaining dirt.
Sediment filters should be replaced every 6-12 months, depending on the water quality and usage. If you notice a significant reduction in water flow or the filter appears heavily clogged, it's time to replace it.
- Turn off the Water Supply: As with sediment filters, start by turning off the water supply to the purifier.
- Remove the Filter Housing: Use a filter wrench to unscrew the filter housing and remove the carbon filter.
- Inspect the Carbon Filter: Check the carbon filter for any signs of wear or saturation. If the filter is heavily discolored or has a reduced adsorption capacity, it needs replacement.
- Clean the Filter Housing: Rinse the filter housing thoroughly with warm water and mild detergent.
- Install the New Carbon Filter: Place the new carbon filter into the housing and screw it back onto the purifier.
- Turn on the Water Supply: Turn on the water supply and check for leaks. Run water through the system to activate the new carbon filter.
Carbon filters should be replaced every 6-12 months. Regular replacement ensures that the filter continues to remove chlorine, bad odors, and other harmful chemicals effectively.
- Turn off the Water Supply: Turn off the water supply to the RO system and open the RO faucet to release any pressure.
- Remove the RO Membrane Housing: Unscrew the membrane housing cap using a filter wrench if necessary.
- Remove the Old RO Membrane: Carefully pull out the old RO membrane from the housing. You may need needle-nose pliers for this step.
- Clean the Membrane Housing: Rinse the membrane housing with warm water and mild detergent to remove any accumulated dirt.
- Install the New RO Membrane: Insert the new RO membrane into the housing, ensuring that it is properly seated.
- Reassemble the Membrane Housing: Screw the membrane housing cap back onto the housing.
- Turn on the Water Supply: Turn on the water supply and check for leaks. Allow the system to flush for a few hours to activate the new membrane.
RO membranes should be replaced every 24 months. Regular replacement ensures that the membrane continues to remove dissolved salts, heavy metals, and other impurities effectively.
Regularly inspect all parts of the water purifier, including water pipe connections, power lines, and valves, to ensure that there are no leaks, odors, or abnormal noises. If any issues are found, contact a professional for maintenance or replacement of parts.
Regularly clean the surface of the water purifier's housing and internal pipes to remove accumulated dirt and bacteria. Use special detergents and tools for cleaning and avoid harsh chemicals.
Install the water purifier in a cool place indoors to avoid exposure to direct sunlight and heat sources. Long-term exposure to high temperatures can affect the life of plastic accessories and cause algae growth inside the filter element.
If you are not at home for a long time or do not use the water purifier, cut off the water and power supply to the purifier. This can protect the purifier from sudden changes in water flow or water pressure and prevent potential damage.
Installing a pre-water purifier can help remove large particles such as sand and rust from the water, reducing the filtering task of the main water purifier. This can extend the service life of the filter elements in the main purifier.
While many filters appear similar, their sizes and construction can differ significantly. It is crucial to select the appropriate size and type of filter for your specific water purifier model. Professional technicians are familiar with the manufacturer's specifications and can ensure the correct filter is used.
The replacement schedule for filters varies depending on the type of filter and water quality. Generally, sediment and carbon filters should be replaced every 6-12 months, while RO membranes should be replaced every 24 months. Regular maintenance and timely replacement are essential for maintaining water quality.
Filters collect debris and contaminants over time, which can cause clogging and reduce their effectiveness. Regular replacement ensures that the filters continue to remove impurities effectively, providing you with clean and safe drinking water.
Knowing how to correctly clean and replace the filter element of a water purifier is essential for maintaining its performance and ensuring the safety of your drinking water. Regular maintenance and timely replacement of filters can prevent clogging, reduce the risk of contaminants, and extend the life of your water purifier. By following the steps outlined in this guide, you can ensure that your water purifier continues to provide you with clean and safe drinking water for years to come.
For more detailed information and step-by-step tutorials, you can refer to the top resources available online, such as Awesome Water Filters, OEMIRY, and various YouTube channels dedicated to water purifier maintenance. Remember, a well-maintained water purifier is key to ensuring the health and safety of your household.
Pre :
Next :



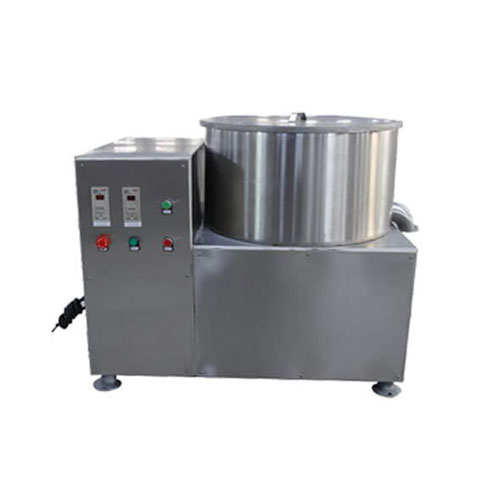 Centrifugal Dewatering Machine
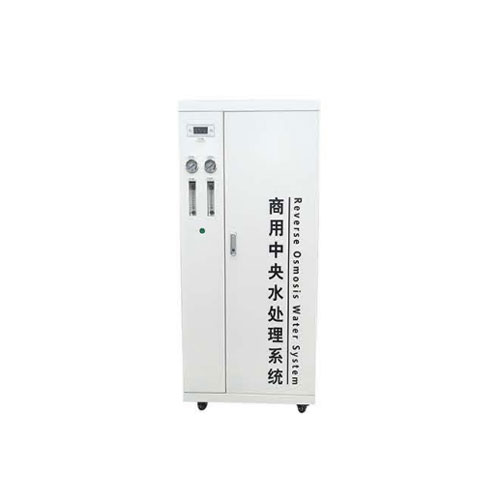 YL-W-06 Commercial Water Purification Equipment
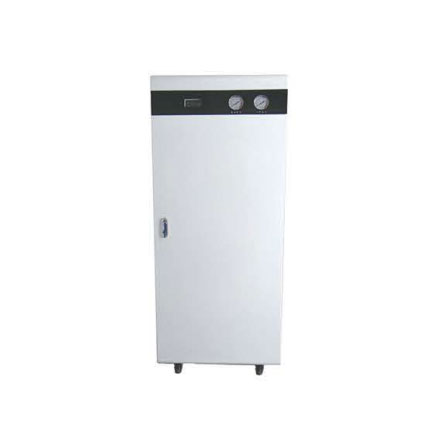 YL-W-05 Commercial Water Purification Equipment
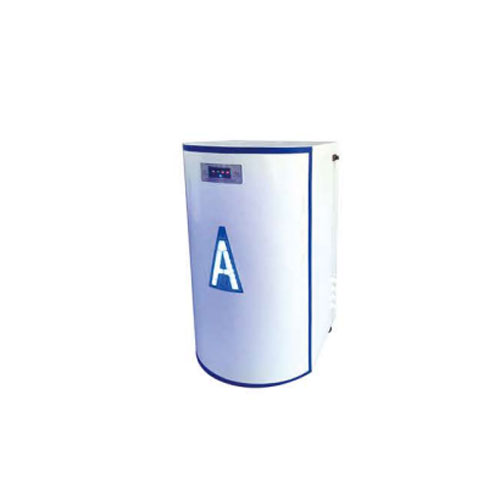 YL-W-04 Commercial Water Purification Equipment
Ready to Get Started?