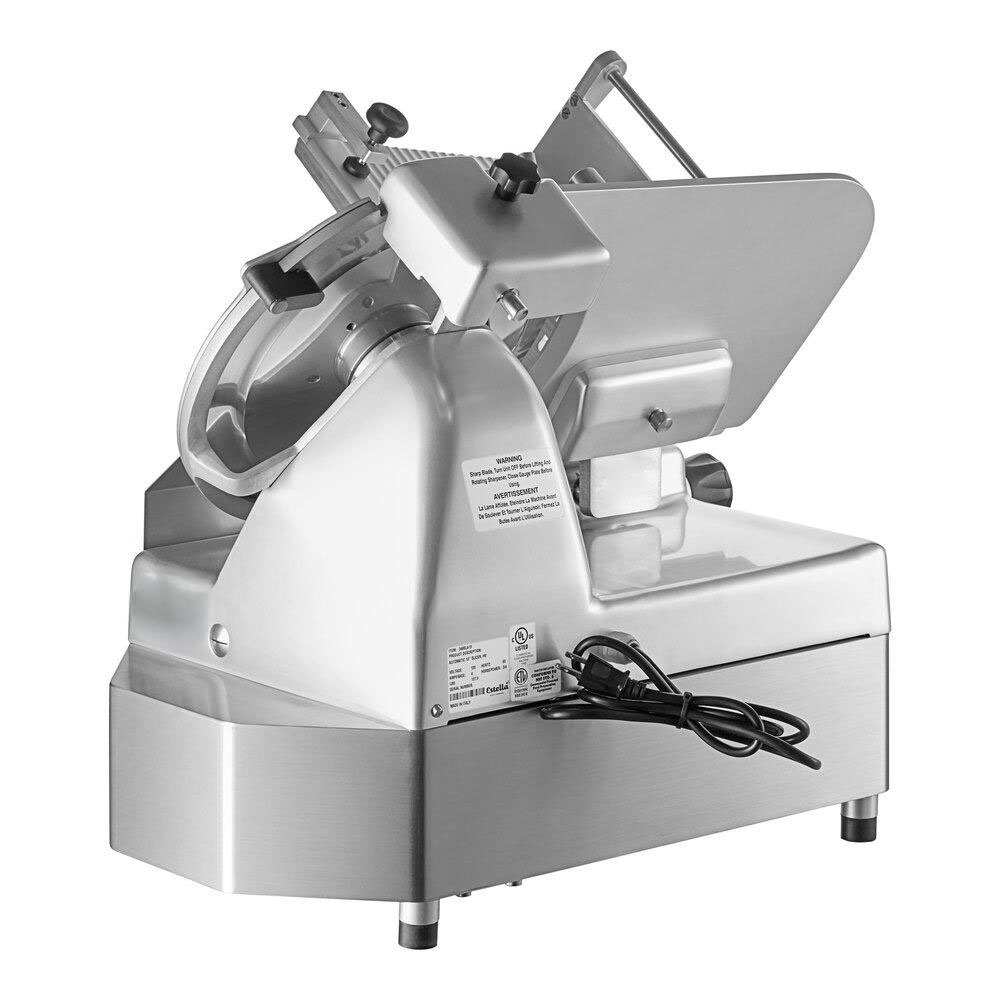
How To Use A Commercial Meat Slicer
Maintaining a meat slicer in pristine condition is essential for food safety, operational efficiency, and equipment longevity. Regular cleaning ensures that harmful bacteria don't contaminate your food products, maintains the slicer’s cutting performance, and complies with health regulations. In this guide, we’ll cover a step-by-step process for cleaning a meat slicer, best practices, and maintenance tips to keep your equipment in top-notch shape.
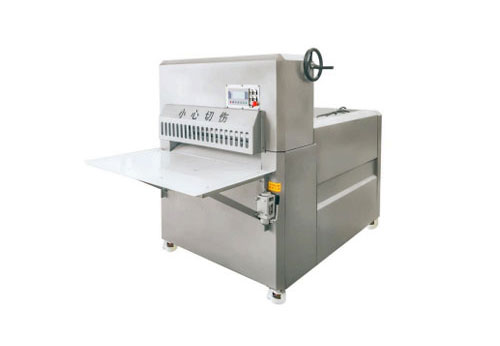
Why Cleaning Your Meat Slicer is Crucial
- Food Safety: Leftover food particles can harbor bacteria such as Listeria and Salmonella, posing serious health risks.
- Equipment Performance: Clean blades slice more efficiently, reducing wear and tear on the motor.
- Regulatory Compliance: Regular cleaning meets food safety standards required by health inspections.
- Customer Trust: Clean equipment reflects professionalism and ensures product quality.
Step-by-Step Guide to Cleaning a Meat Slicer
1. Gather Your Cleaning Supplies
To clean your meat slicer, you’ll need:
- Warm water and mild detergent
- Food-grade sanitizer
- A clean sponge or soft cloth
- A small brush for crevices
- Safety gloves
- A spray bottle
2. Turn Off and Disassemble the Slicer
- Unplug the Machine: For safety, always disconnect the slicer from its power source before cleaning.
- Disassemble Components: Remove the blade guard, slicer blade, food tray, and any other detachable parts. Consult the user manual for guidance on safely removing components.
3. Pre-Clean the Machine
- Wipe Down Surfaces: Use a soft cloth to remove visible food debris from the blade and other surfaces.
- Rinse Detachable Parts: Run the parts under warm water to remove food particles before deep cleaning.
4. Deep Clean the Components
- Soak Detachable Parts: Immerse them in warm, soapy water for 5–10 minutes.
- Scrub Crevices: Use a small brush to clean hard-to-reach areas.
- Clean the Blade: Carefully scrub the slicer blade with a sponge, moving from the center outward to avoid injury.
5. Sanitize Thoroughly
- Apply Sanitizer: Spray food-grade sanitizer on all surfaces and let it sit for the recommended time.
- Rinse and Dry: Use a clean cloth to rinse and dry the components, ensuring no water is left behind.
6. Reassemble and Test
- Reattach Components: Once all parts are completely dry, reassemble the slicer according to the manual.
- Test Functionality: Plug in the slicer and run a quick test to ensure it operates smoothly.
Best Practices for Maintaining a Meat Slicer
- Clean After Every Use: Prevent buildup by cleaning your slicer immediately after each use.
- Use Sharpening Stones Regularly: A sharp blade not only cuts better but also stays cleaner for longer.
- Inspect for Wear: Check components for signs of wear or damage, and replace them as necessary.
- Schedule Professional Servicing: Periodic maintenance by a professional extends your slicer’s lifespan.
Common Mistakes to Avoid
- Skipping Regular Cleaning: Neglecting cleaning can lead to contamination and mechanical issues.
- Using Abrasive Tools: Harsh tools can scratch the surface, making it harder to sanitize.
- Overlooking Blade Maintenance: A dull blade increases cleaning difficulty and decreases slicing efficiency.
Cleaning Frequency Recommendations
- Daily Cleaning: After each shift or intensive use.
- Weekly Deep Cleaning: A thorough cleaning including blade removal and sharpening.
- Post-Inspection Cleaning: Before and after health inspections to ensure compliance.
Conclusion
Properly cleaning a meat slicer is non-negotiable for food safety and equipment longevity. By following the steps outlined in this guide and adhering to regular maintenance practices, you can keep your slicer in excellent condition, avoid costly repairs, and protect your customers’ health.
For more insights into maintaining kitchen equipment, explore our related guides on food processing machine care and best practices for commercial kitchens.
Must-Read Blogs For Chain Restaurants Owner

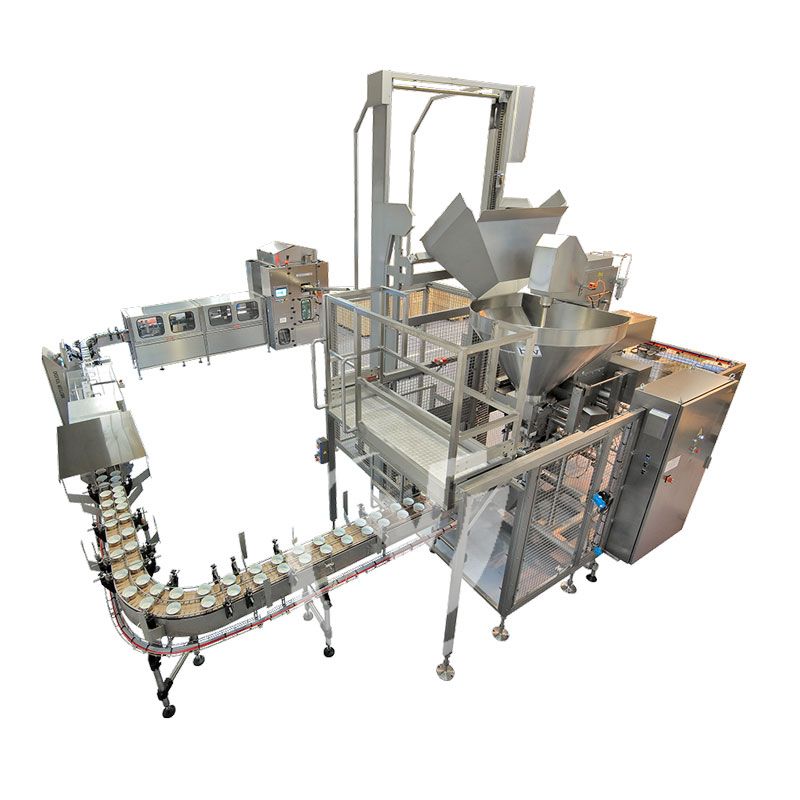

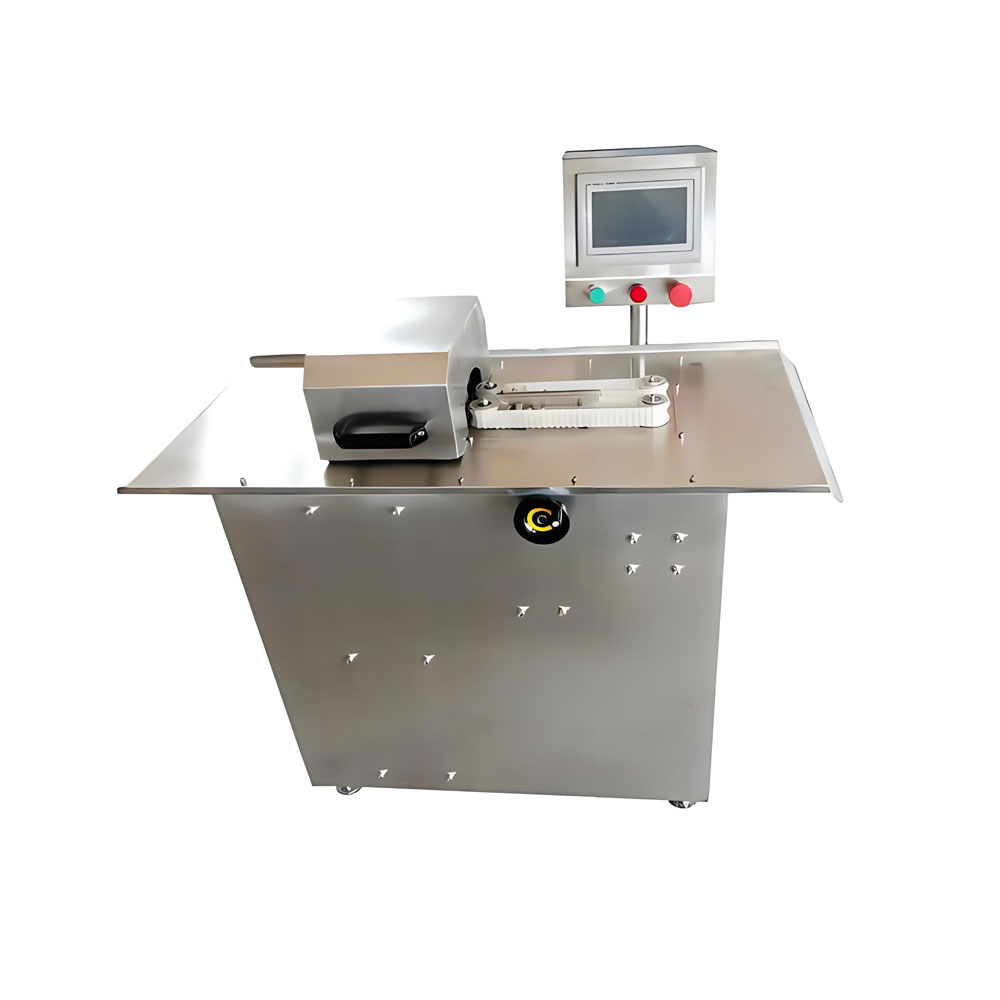
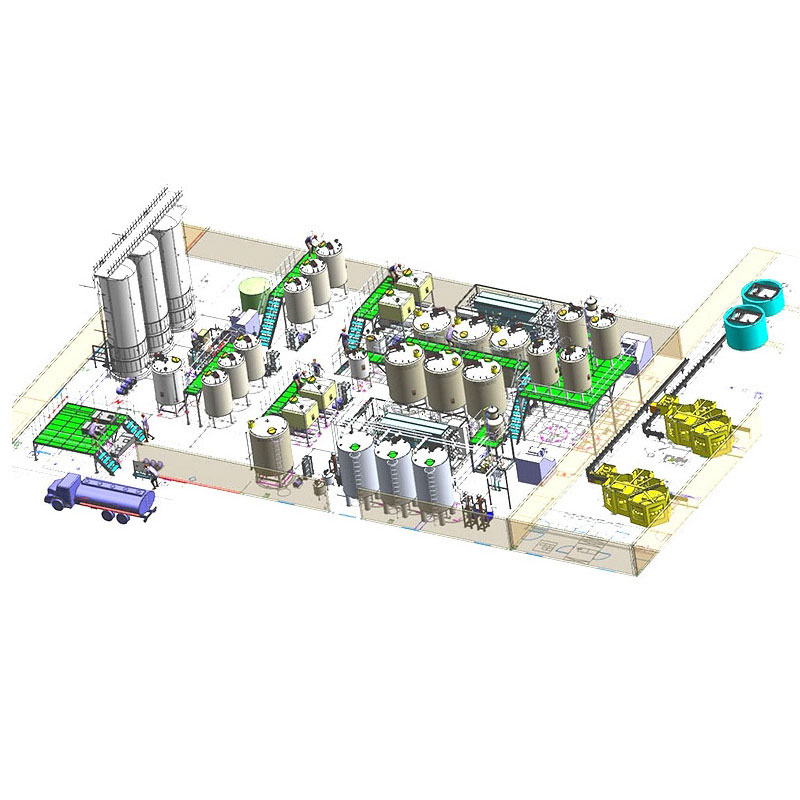
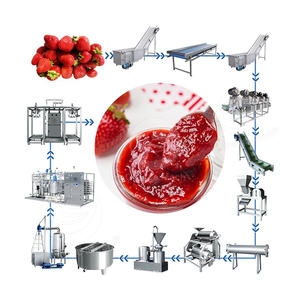 Jam Making Equipment
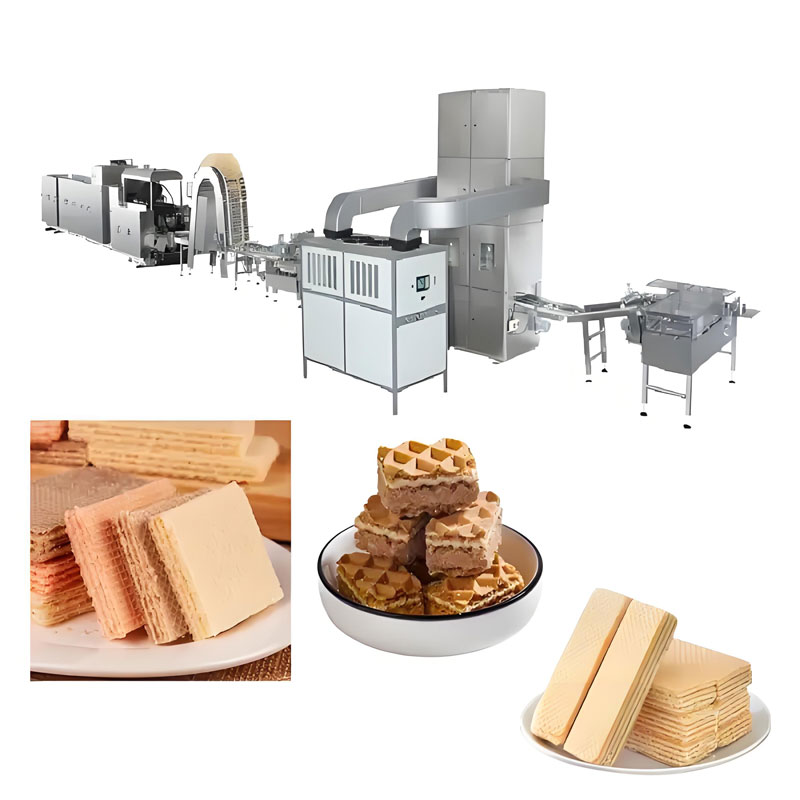 Biscuit Making Machine
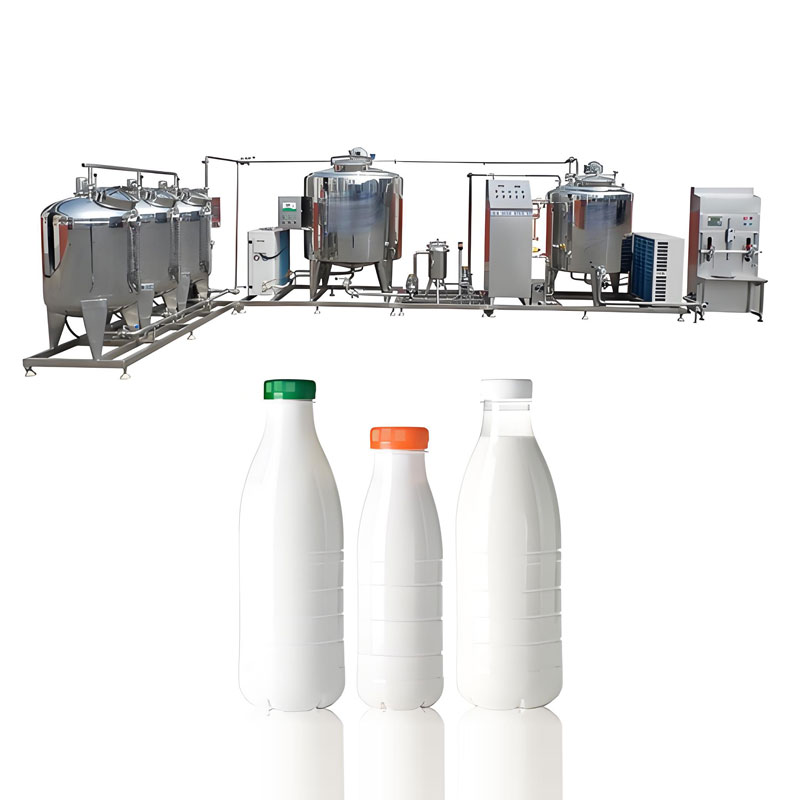 Yogurt Making Machine
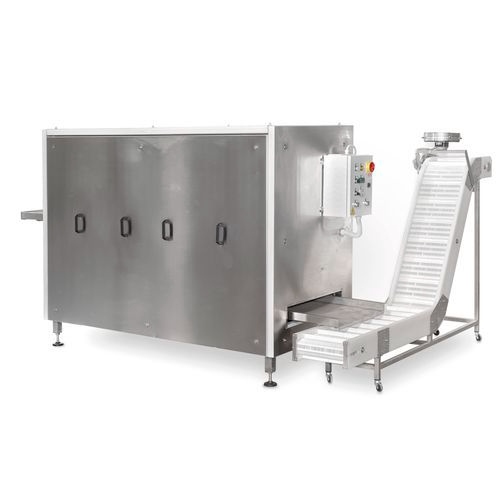 Commercial Dry Pasta Machine
Ready to Get Started?