How Is Slice Thickness Set On A Commercial Meat Slicer
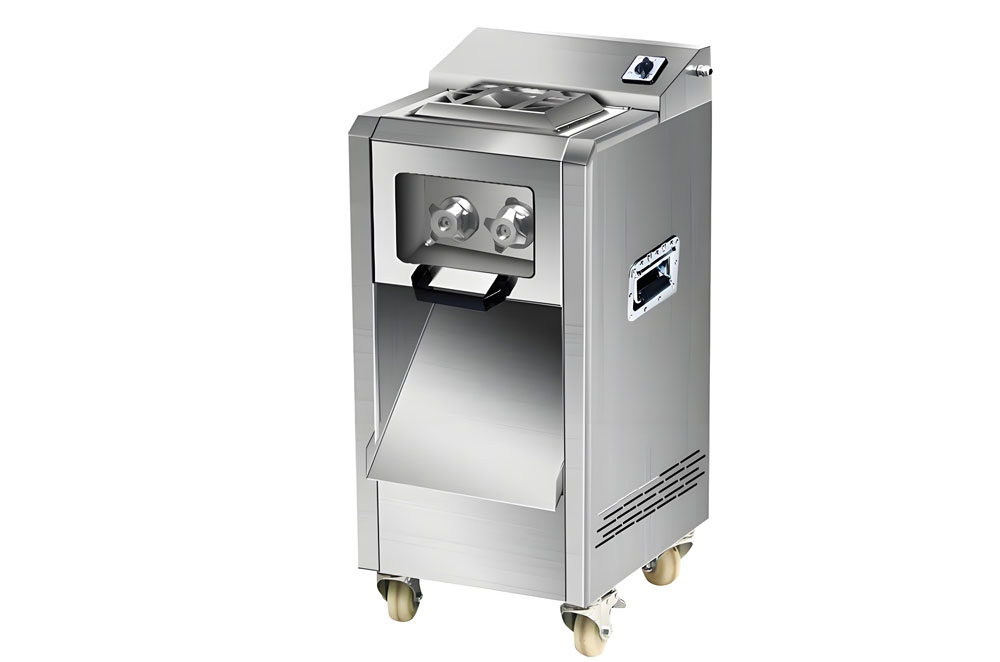
In the world of food preparation, precision is key, especially when it comes to slicing meat, cheese, or other ingredients. A commercial meat slicer is a powerful tool that allows chefs, butchers, and food processors to achieve consistent slices efficiently. One of its most critical features is the ability to adjust slice thickness, which directly impacts presentation, portion control, and customer satisfaction.
In this blog, we’ll explore how slice thickness is set on a commercial meat slicer, why it matters, and tips for ensuring accurate slicing. We’ll also discuss common adjustments, maintenance practices, and safety considerations.
Understanding Slice Thickness on a Commercial Meat Slicer
Slice thickness refers to how thick or thin each cut of meat, cheese, or produce will be. On commercial meat slicers, this is typically adjustable to suit a variety of applications, from paper-thin deli slices to thick cuts of meat for grilling or roasting.
Why Is Adjustable Slice Thickness Important?
- Versatility: Different dishes require different thicknesses. For instance, charcuterie boards need thin slices, while sandwiches may require thicker cuts.
- Consistency: Uniform slices enhance the visual appeal and ensure even cooking or serving portions.
- Cost Control: Precise slicing helps manage portion sizes, reducing waste and maximizing profits in commercial settings.
How to Set Slice Thickness on a Commercial Meat Slicer
Most commercial meat slicers are equipped with an adjustable thickness knob or dial, which controls the distance between the blade and the food carriage. Here’s a step-by-step guide to setting the slice thickness:
Step 1: Familiarize Yourself with the Controls
- Locate the thickness adjustment knob. It is usually on the side or front of the slicer and marked with thickness levels in millimeters or fractions of an inch.
- Understand the range of thickness settings. Some slicers offer settings from ultra-thin (less than 1mm) to over 1 inch.
Step 2: Prepare the Slicer
- Ensure the slicer is turned off and the blade guard is in place before making adjustments.
- Clean the slicer to remove any residue from previous use, as buildup can affect performance and accuracy.
Step 3: Adjust the Thickness Knob
- Rotate the knob to the desired setting. Turning it clockwise typically reduces the slice thickness, while counterclockwise increases it.
- Some models have a numbered scale, making it easier to select precise settings.
Step 4: Test the Setting
- Place a small piece of the product (e.g., meat or cheese) on the food carriage.
- Slowly slide the carriage past the blade while the slicer is running.
- Examine the slice to ensure it meets the required thickness. Adjust the knob as necessary for finer tuning.
Step 5: Lock the Setting (if applicable)
- Some slicers feature a locking mechanism to secure the slice thickness, preventing accidental adjustments during operation.
Factors Affecting Slice Thickness Accuracy
Several factors can influence the accuracy of slice thickness on a commercial meat slicer. Being aware of these can help you achieve consistent results:
1. Blade Sharpness
- A dull blade can cause uneven or jagged slices, making precise thickness difficult to achieve. Regularly sharpen or replace the blade as needed.
2. Food Consistency
- Softer items like cheese may compress during slicing, resulting in thinner slices than intended. Use a slicer with a serrated blade for better grip on soft or delicate items.
3. Operator Technique
- Applying excessive pressure to the food carriage can distort the product and affect slice thickness. Let the slicer do the work, using gentle and even movements.
4. Slicer Maintenance
- A poorly maintained slicer may have misaligned parts or debris buildup, leading to inconsistent slicing. Clean and inspect your slicer regularly.
Tips for Consistent Slice Thickness
To ensure precision and consistency:
- Calibrate Regularly: Check the slicer’s thickness settings periodically, especially after cleaning or disassembly.
- Use the Food Pusher: This keeps the product steady and ensures even slicing.
- Select the Right Blade: Some slicers offer interchangeable blades for different slicing needs. Use the appropriate blade for your product.
- Train Staff: Proper training on slicer operation and maintenance reduces errors and improves efficiency.
Safety Considerations When Adjusting Slice Thickness
While adjusting slice thickness is straightforward, safety should always come first. Here are some key precautions:
- Turn Off the Slicer: Always power off and unplug the slicer before making adjustments or cleaning.
- Use Protective Gear: Wear cut-resistant gloves when handling the blade or other sharp components.
- Avoid Overreaching: Keep your hands and fingers away from the blade at all times. Use the provided food pusher or guard.
Maintaining Optimal Performance
Regular maintenance ensures your slicer delivers accurate and consistent slices over time. Follow these steps:
- Clean Daily: Remove and clean all removable parts after each use. Sanitize to prevent cross-contamination.
- Lubricate Moving Parts: Apply food-grade lubricant to reduce friction and wear on components.
- Inspect for Wear and Tear: Regularly check the adjustment knob, blade, and other parts for signs of damage or misalignment. Replace worn parts promptly.
- Service Professionally: Schedule routine professional servicing to maintain peak performance, especially for high-volume use.
Conclusion: Mastering Slice Thickness on a Commercial Meat Slicer
Setting slice thickness on a commercial meat slicer is a straightforward process, but achieving consistent results requires attention to detail and proper technique. By understanding how the adjustment mechanism works, considering key factors like blade sharpness and food consistency, and following regular maintenance practices, you can ensure your slicer delivers precise, uniform slices every time.
Whether you’re preparing deli meats, cheese, or other ingredients, a properly adjusted slicer enhances efficiency, reduces waste, and improves the quality of your food preparation.
Must-Read Blogs For Chain Restaurants Owner

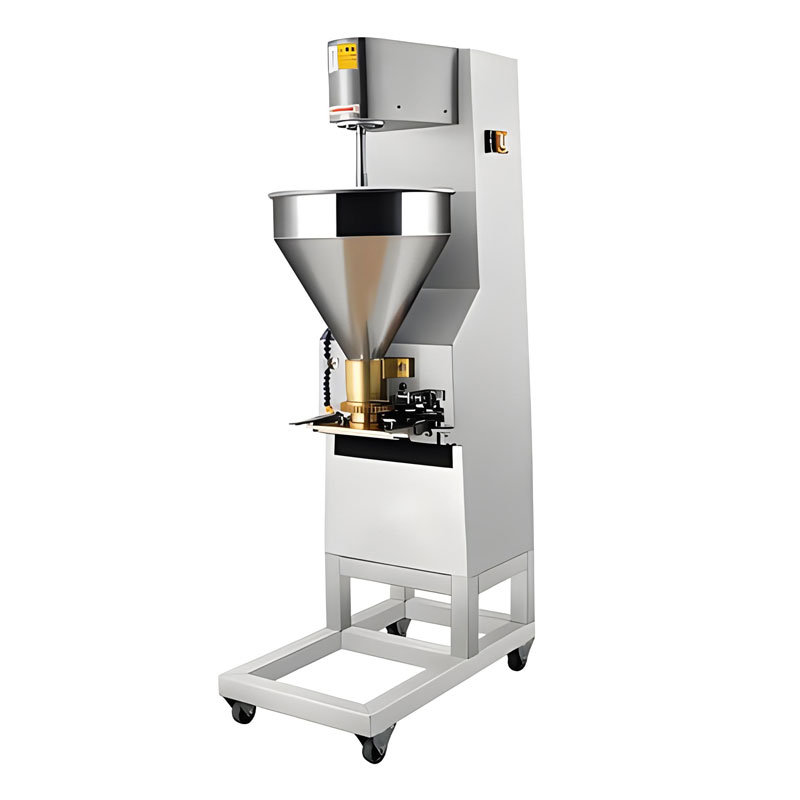
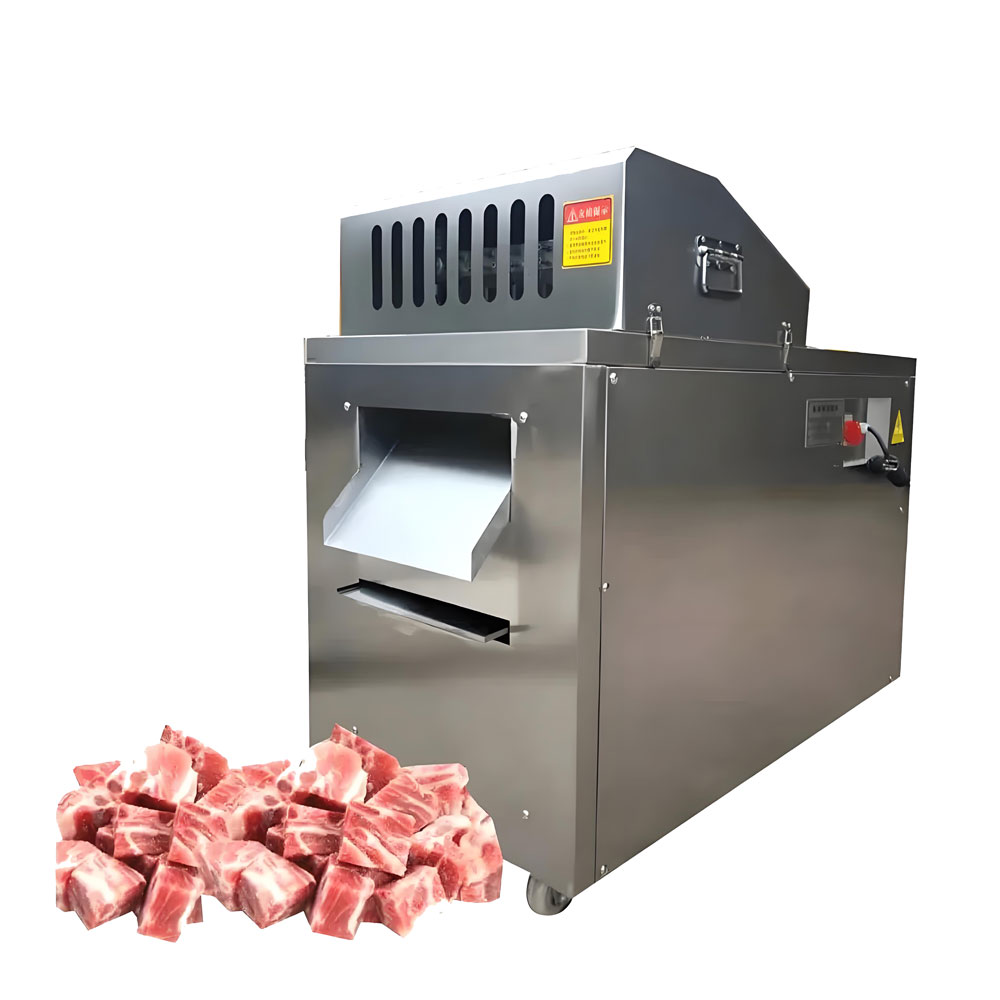

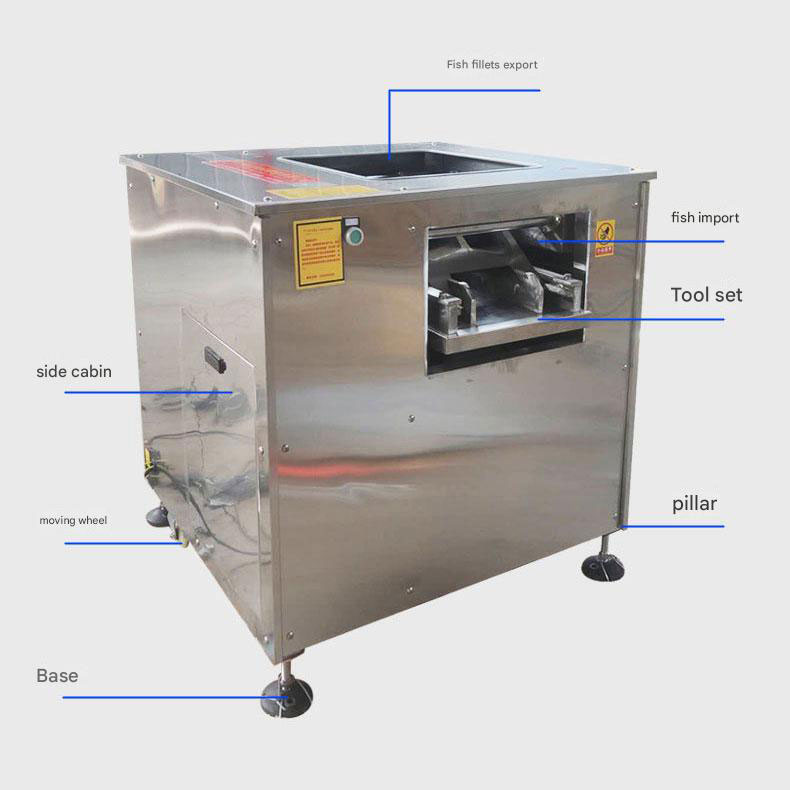 Fish Slicer Machine
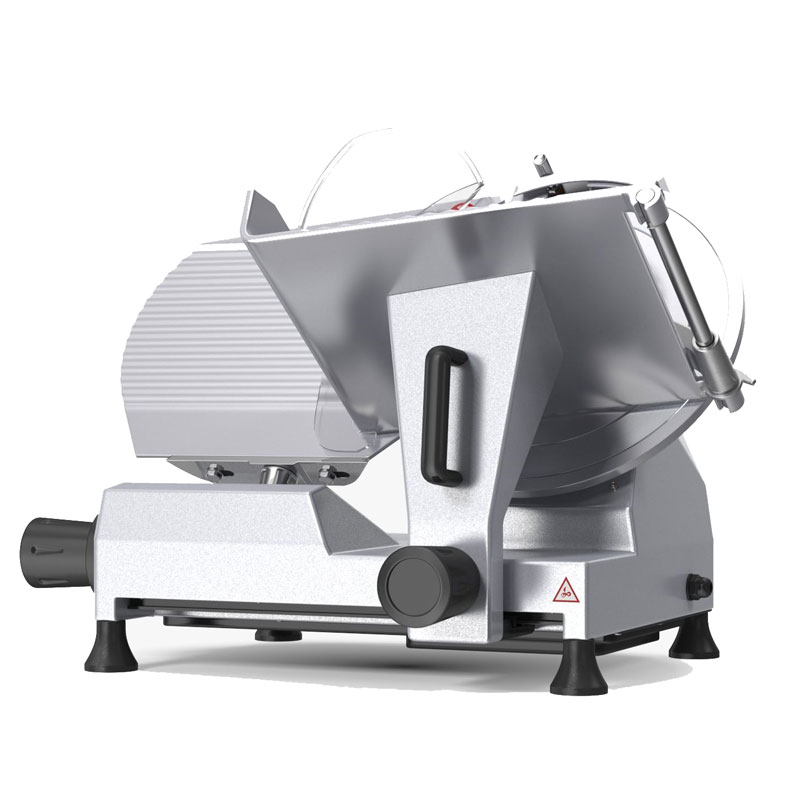 Heavy Duty Meat Slicer Machine
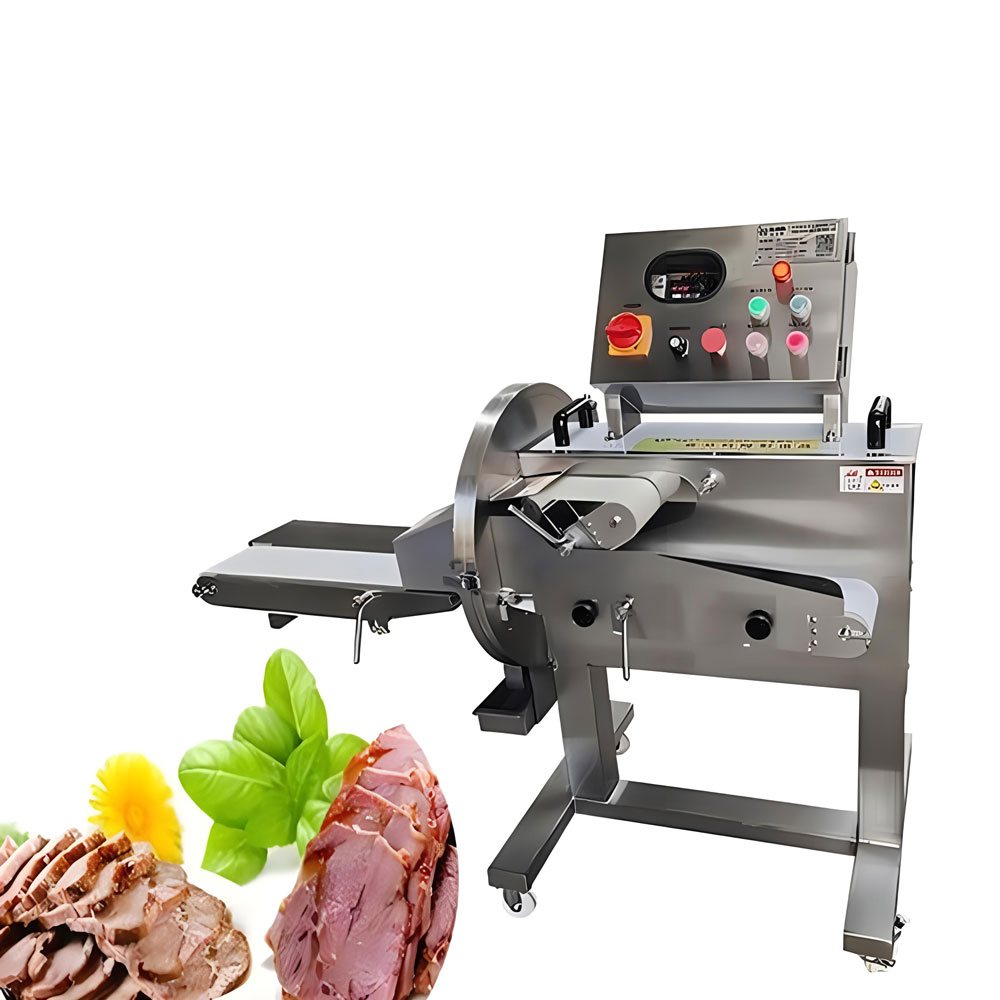 Electric Cooked Meat Slicer
Ready to Get Started?